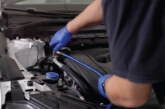
Want to know just what state your refrigerant is in? Colour, consistency and condition are all vital clues, says Auto Air Gloucester.
The condition of the refrigerant running through a vehicle’s air conditioning (AC) system is an important factor in the correct operation of all AC components and its overall cooling efficiency.
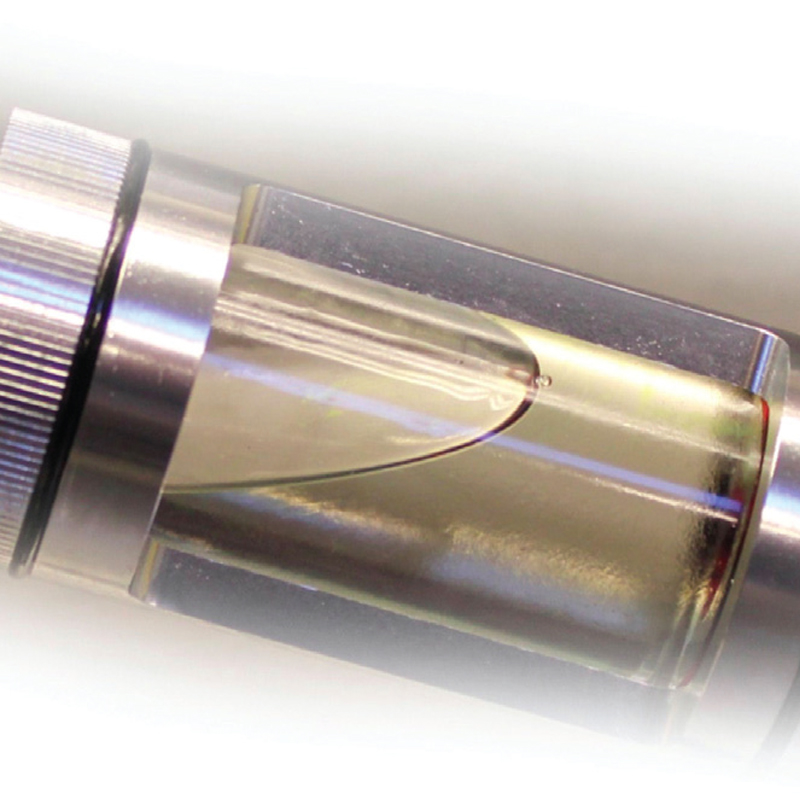
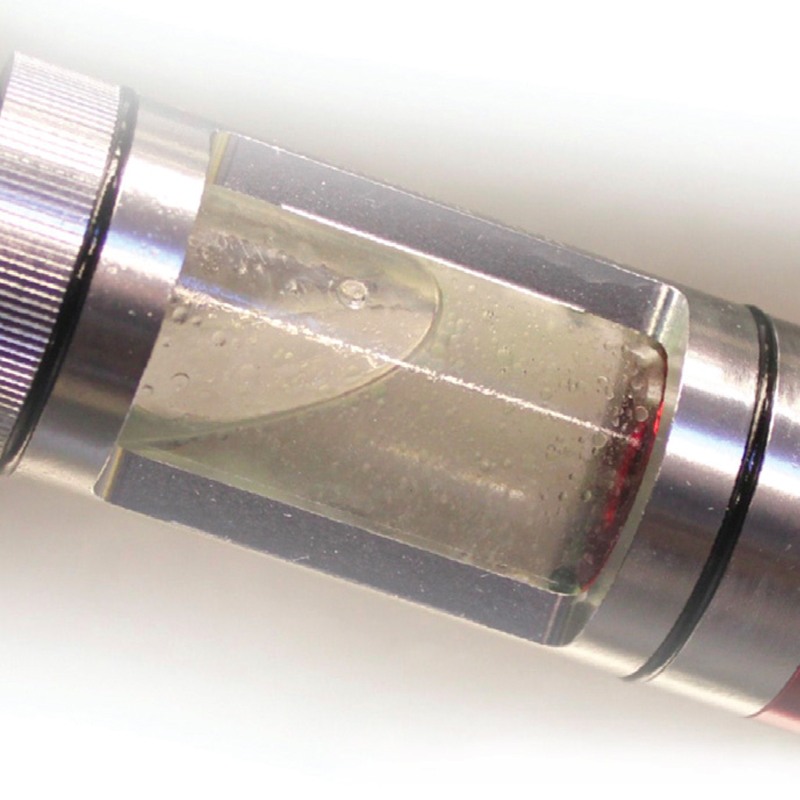
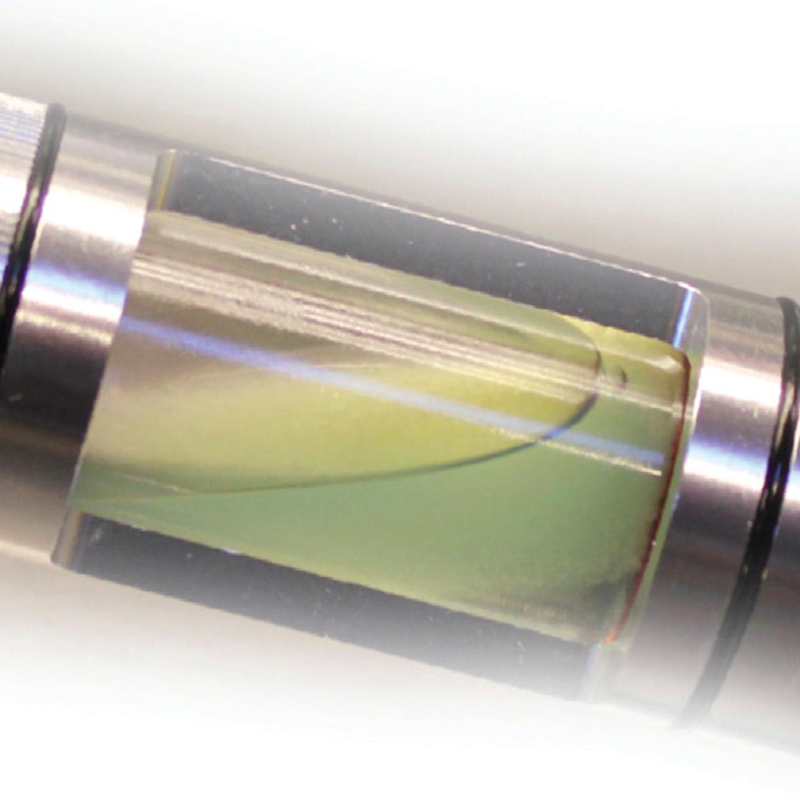
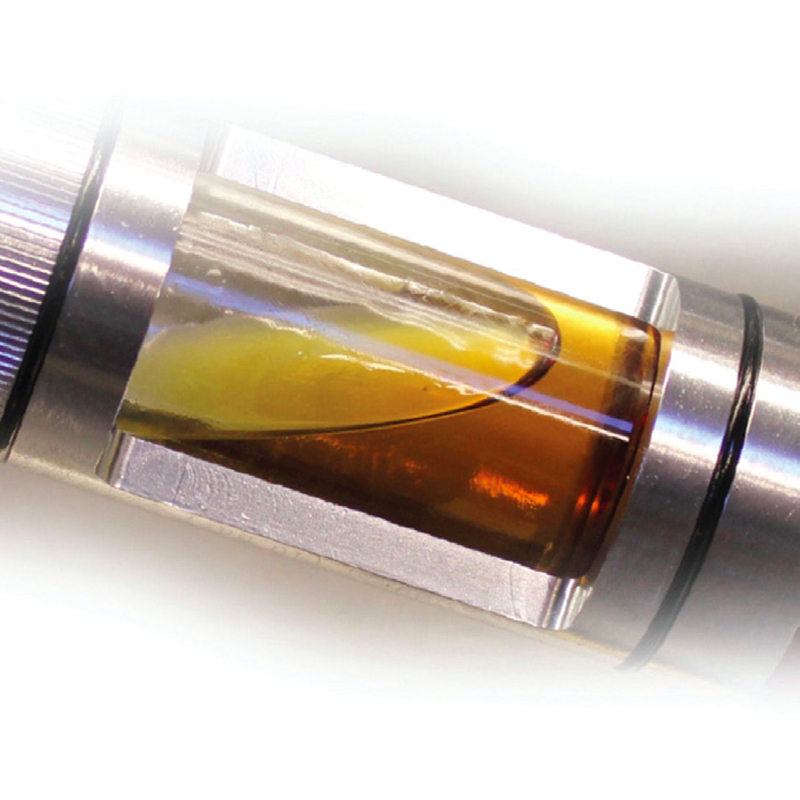
The only way for a technician to actually verify the condition of the refrigerant is to use a diagnostic sight glass. This allows a visual inspection of the condition and flow of the refrigerant, helping detect impurities such as moisture, crystallisation due to the presence of leak stop, diluted oil due to excessive UV dye and dirty lubricant or debris, possibly caused by corroded internal parts.
Sight preparation
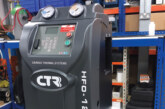
It is the ideal tool for diagnosing problems at the heart of the AC system and can be used with a standard vacuum pump or with a vacuum function on a RRR Machine (recovery, recycle, recharge).
Before any examination takes place, the sight glass needs to be prepared so it is important to always follow the instructions. This preparation will remove any atmosphere from the glass and hoses which allows for accurate testing.
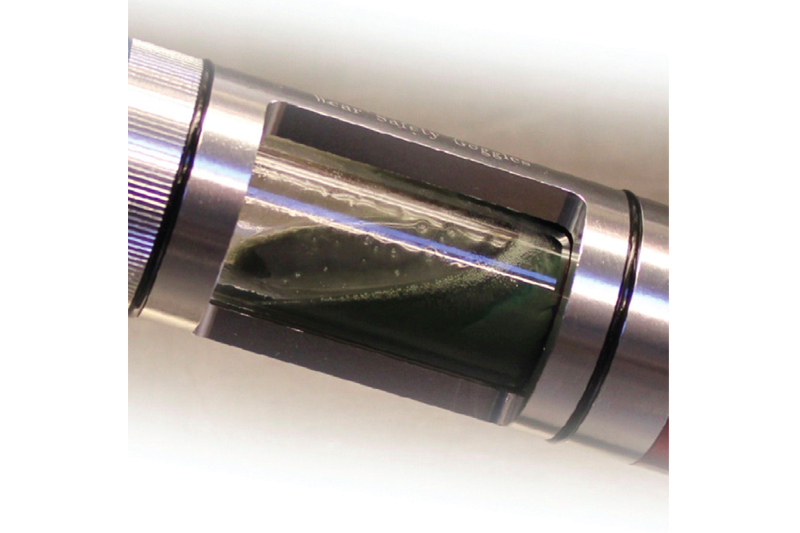
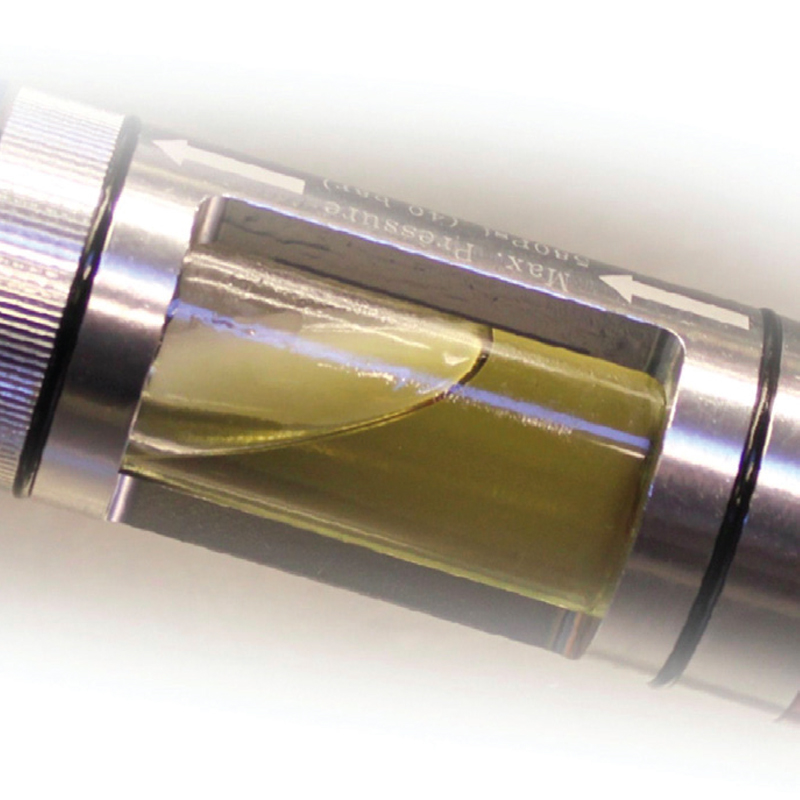
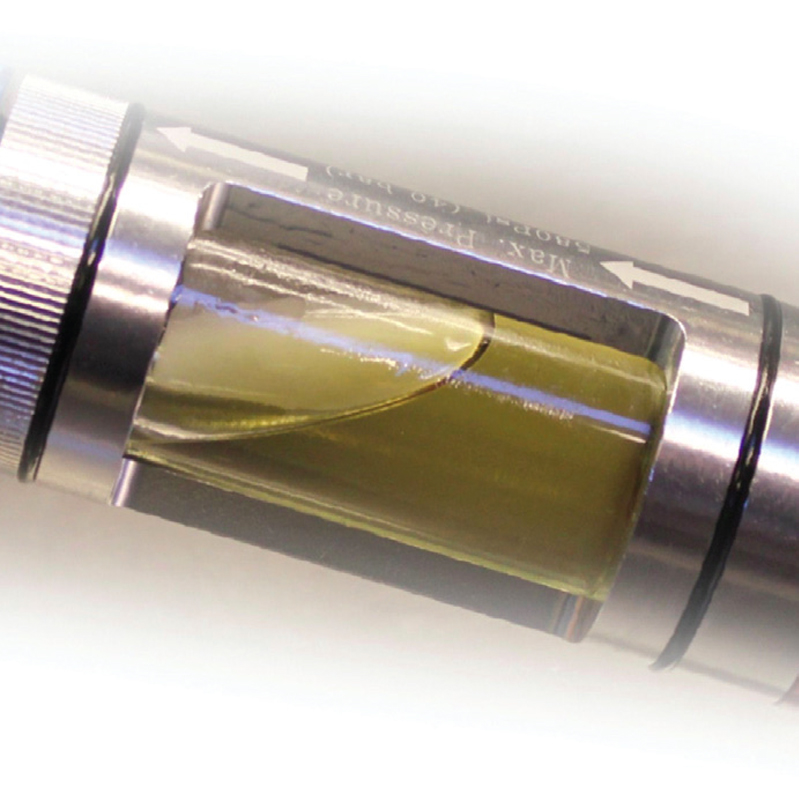
Once prepared and with both sight glass valves closed, connect the hoses to the relevant ends of the sight glass and the couplers to the vehicles appropriate service ports. Start the vehicle engine and turn the AC system to maximum. Holding the sight glass vertically with the red hose pointing down, open the red side glass valve allowing refrigerant to flow into the chamber. When the chamber is . full close the red side valve and allow the solution to stabilise. The visual inspection can now take place while checking the colour against the refrigerant condition chart.
Contamination
After diagnosis the refrigerant can be redeposited back into the AC system. Simply turn off the AC and the engine. Remove the red coupler from the high side of the vehicle and turn the vehicle and AC back on. Open the red glass valve then slowly open the valve on the blue side. Wait a minute or so after the refrigerant is removed from the chamber to allow enough time for any refrigerant in the blue hose to re-enter the system. Next remove the low side coupler from the vehicle. Don’t forget to check and clean the filter inside the sight glass for possible contamination after use.
With the visual inspection now complete you should have a diagnosis pointing to the cause of the problem.
Light brown colour
Visible bubbles/pearls
Dark green colour
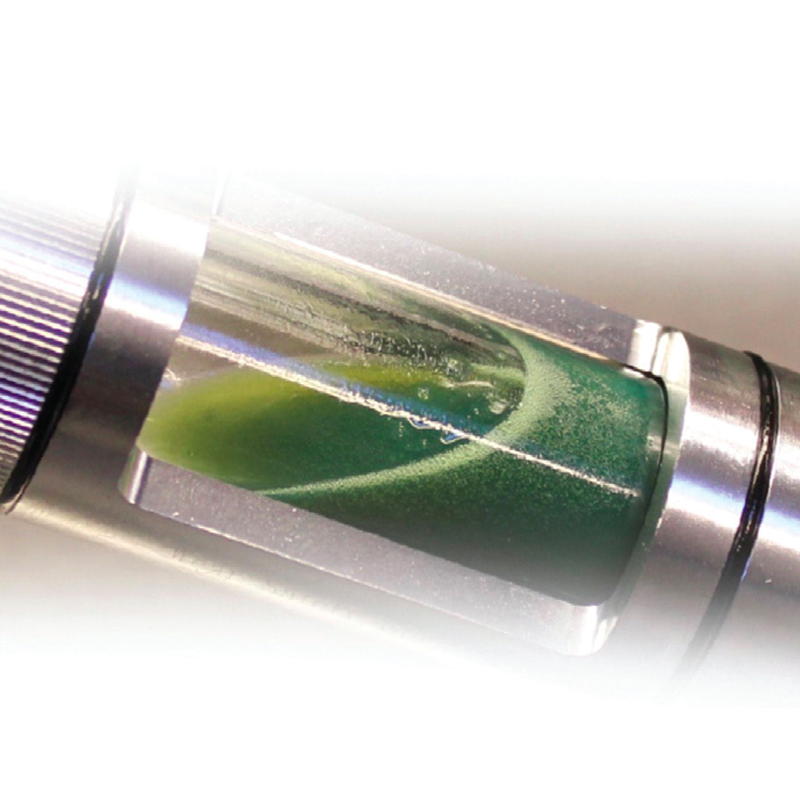
Jelly-like crystallised consistency
Visible metal chips/ particles
Milky, unclear consistency
Red/Orange colour
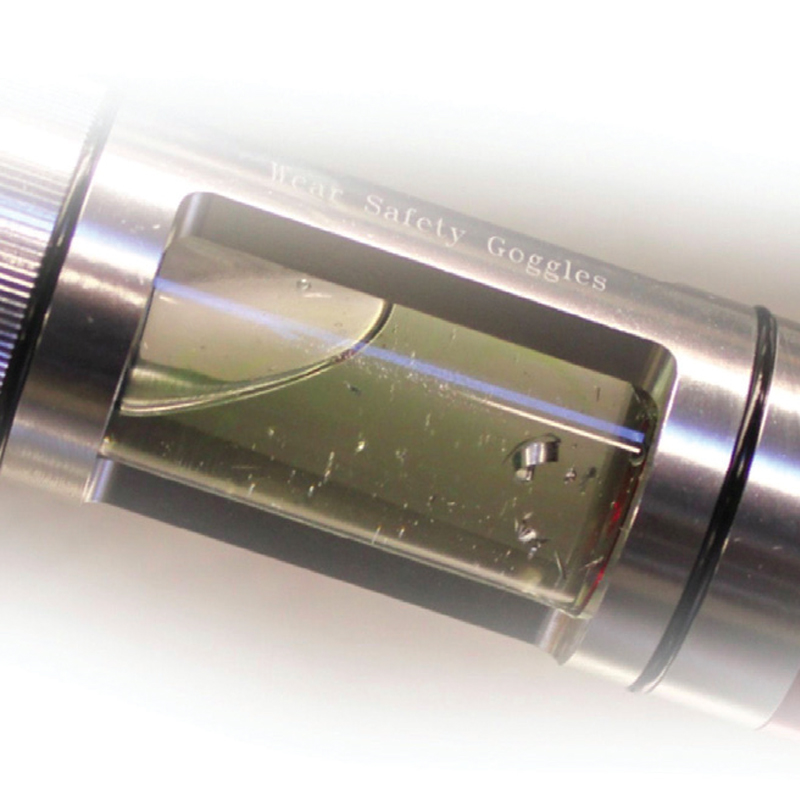
Visible rubber/plastic compounds

Uneven liquids mixture