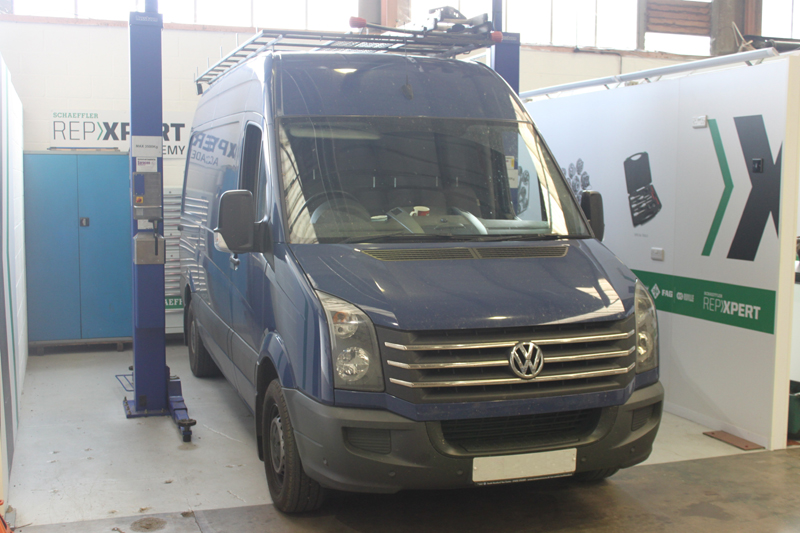
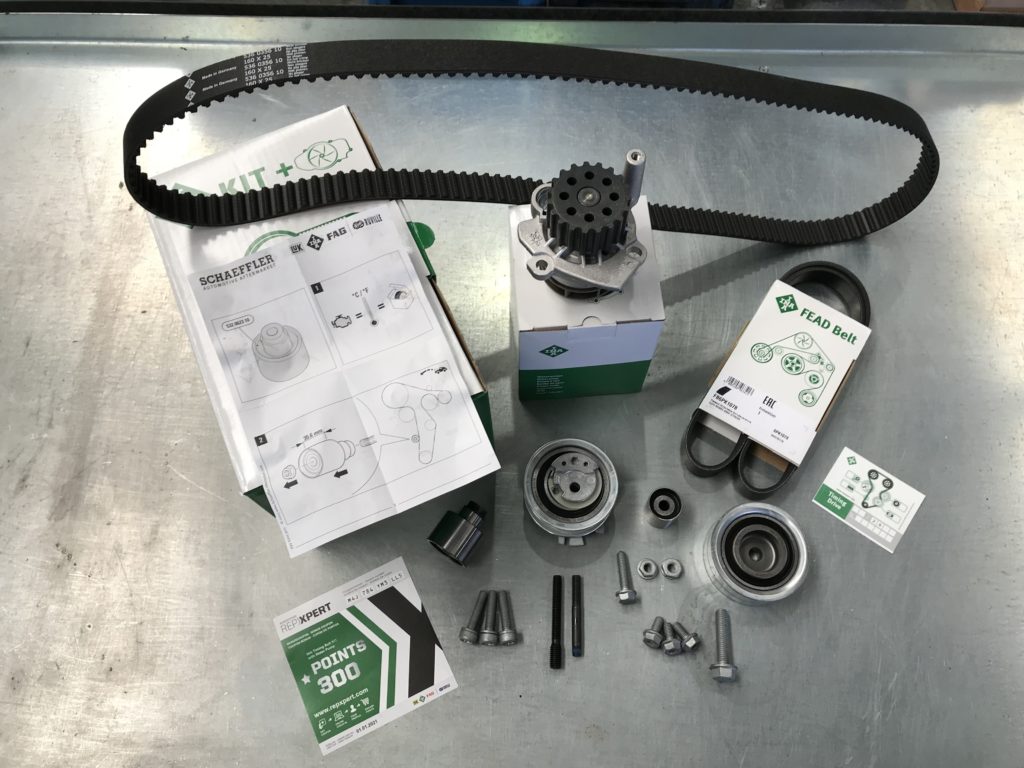
In this Schaeffler INA timing belt article, REPXPERT’s Alistair Mason explains how to replace the timing belt and coolant pump on a 2015 Volkswagen Crafter, fitted with a 2.0 TDI common rail engine. The recommended service interval is 80,000 miles, or every four years.
With a booking time of almost three-and-a-half hours and just a few special tools required, this repair is a profitable one for technicians. For this repair, engine timing/locking tools, a calibrated torque wrench and coolant draining collection system are required. Workshop instructions and labour times can be found via Schaeffler’s REPXPERT portal, while technical bulletins should be checked prior to repair.
Step-by-step procedure
For this scheduled repair, the majority of the work is carried out from the top of the engine bay, so a vehicle lift is not essential. With the engine at ambient temperature, open the bonnet and remove the air filter assembly (Fig 1).
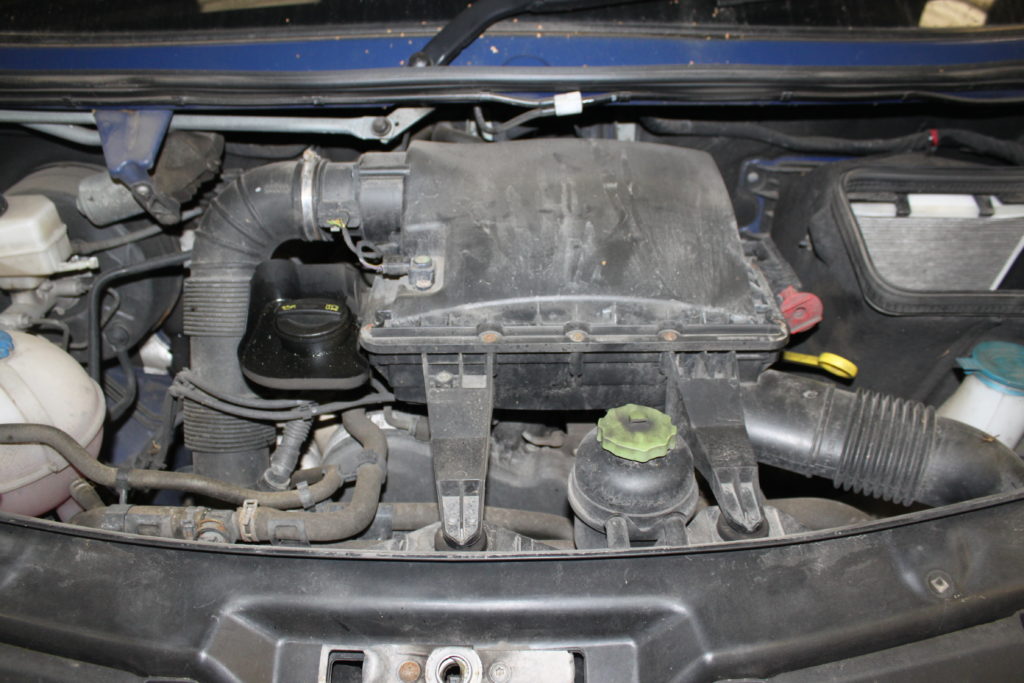
This is achieved by disconnecting the two electrical multiplugs, unclipping the oil filler neck and jump start point, before detaching the two air intake pipes, lifting the front of the filter assembly up to withdraw it from the rubber grommets, and then sliding it forwards to remove from the rear mounting points.
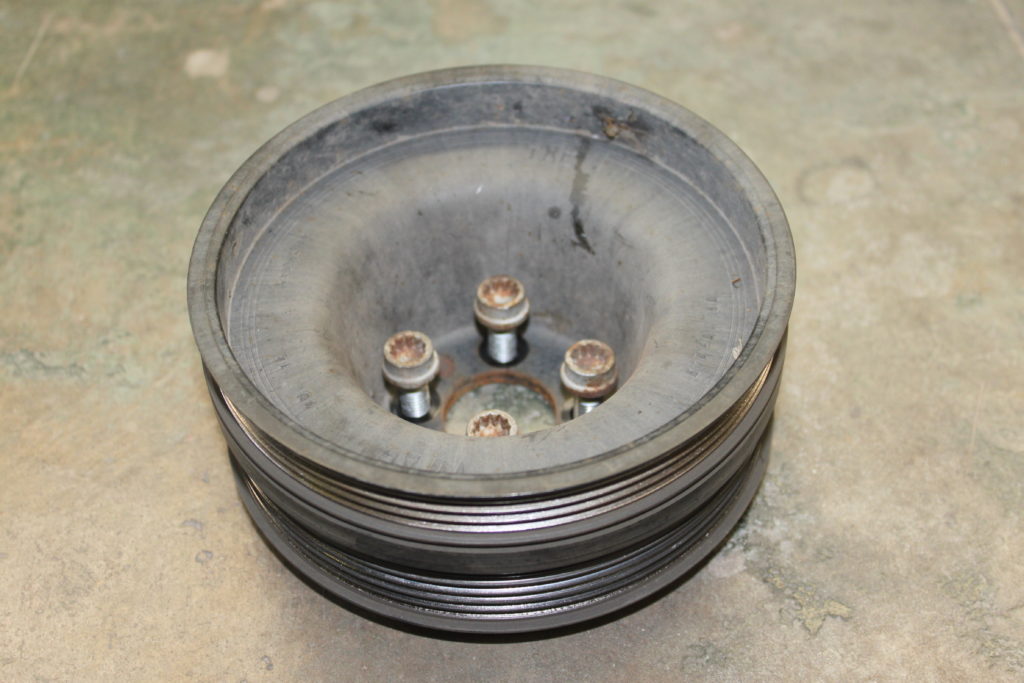
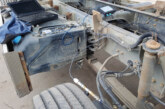
Once removed, stow it in a safe area. This now allows greater access to the timing belt area. Now remove the viscous fan. If this proves too tight, unscrew the three bolts from the mounting bracket and stow the fan assembly carefully in the radiator cowling. Before the auxiliary drive belt is removed, slacken the four spline bolts that retain the bottom pulley (Fig 2).
Once slackened, turn the auxiliary drive belt tensioner in a clockwise direction. With the tension released, remove the auxiliary drive belt and then the bottom pulley. At this point, check the auxiliary belt tensioner and overrunning alternator pulley for serviceable and correct operation, replacing if required.
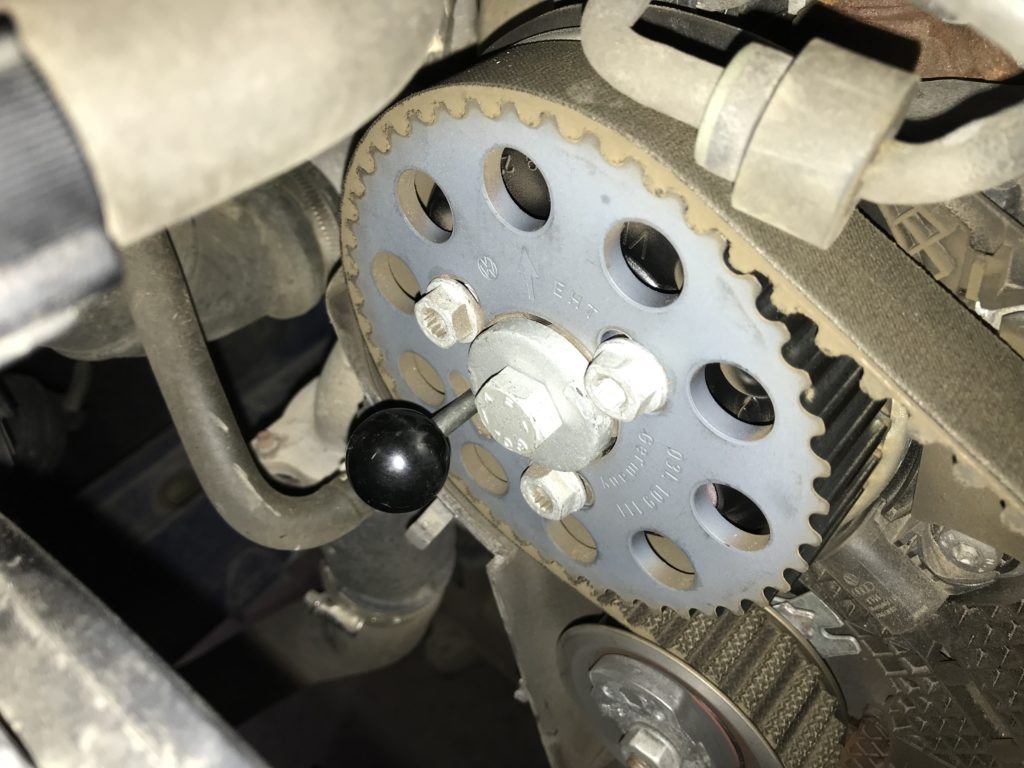
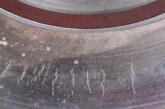
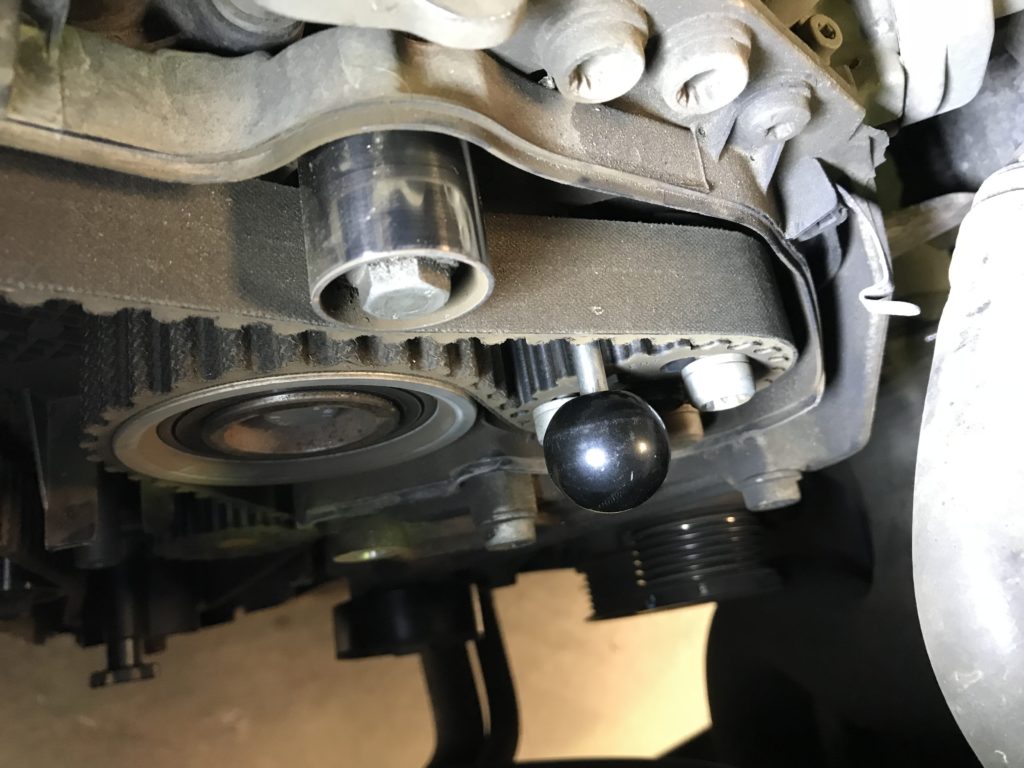
Next, remove the timing belt covers, unclip the upper cover and discard, before disconnecting the five bolts from the lower cover. Using a 19mm 12-point socket on the crankshaft bolt, rotate the engine in a clockwise direction until the locking pin can be inserted into the camshaft pulley (Fig 3).

Ensure that the crankshaft pulley aligns and locks in with the special tool (Fig 4). Finally, the pulley can now be locked for the high-pressure fuel pump (Fig 5).
Slacken the three retaining bolts on the camshaft pulley, the three retaining bolts on the high-pressure fuel pump pulley and the timing belt tensioner nut. Once done, rotate the tensioner eccentric in an anticlockwise direction, which, with the tension removed, will allow for the timing belt to be removed from the engine.
The replacement
These days, technicians need to bear in mind that the use of stretch bolts and onetime use, self-locking fixings are becoming more popular. The INA timing belt kit contains all the fixings needed for this repair. Starting at the top, replace the three bolts that retain the camshaft pulley, the top idler pulley and bolt, the high pressure fuel pump pulley bolts and, finally, the large deflection pulley. With the latter pulley removed, there is now good access and visibility, which will help replace the coolant pump.
If possible, drain the coolant into a coolant drainer/collection system, then detach the three retaining bolts from the coolant pump and remove the component. Ensure the coolant pump location and timing belt areas are clean and dry before spreading a light smear of silicone-based grease on the new coolant pump seal. Once satisfied, insert it into the engine block.
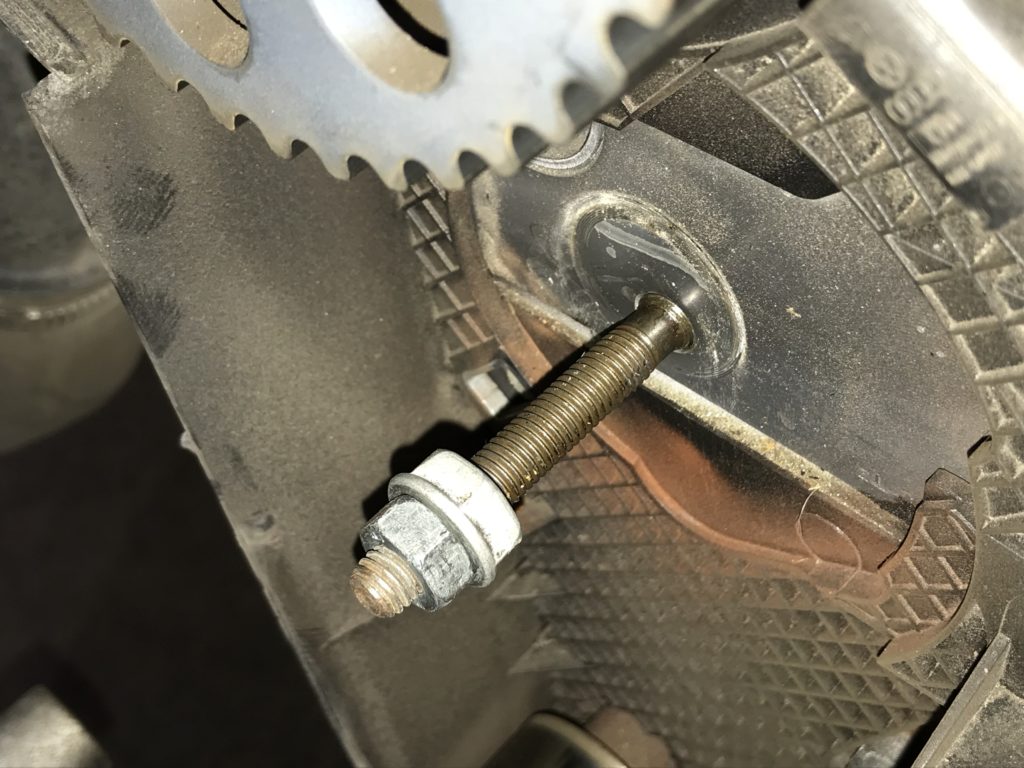
Once bolted into place, torque the pump to the manufacturer’s specification and then fit the new deflection pulley and bolt. Inside the INA timing belt kit, there are two new studs, which Schaeffler strongly recommends are used, as they have the potential to stretch. Replace the stud for both the tensioner and the lower deflection/idler pulley, which can be achieved by using a stud extractor or locking two nuts together (Fig 6).
When fitting the new studs, ensure they are torqued to the manufacturer’s recommendation. Once accomplished, install the new tensioner, ensuring the locating tab locates, and then fit the lower deflection pulley/idler, torque bolts as required, leaving the cam and high pressure fuel pump pulley bolts and tensioner nut free so the pulleys and tensioner can rotate. Finally, move both pulleys in a clockwise direction until they are against their stops.

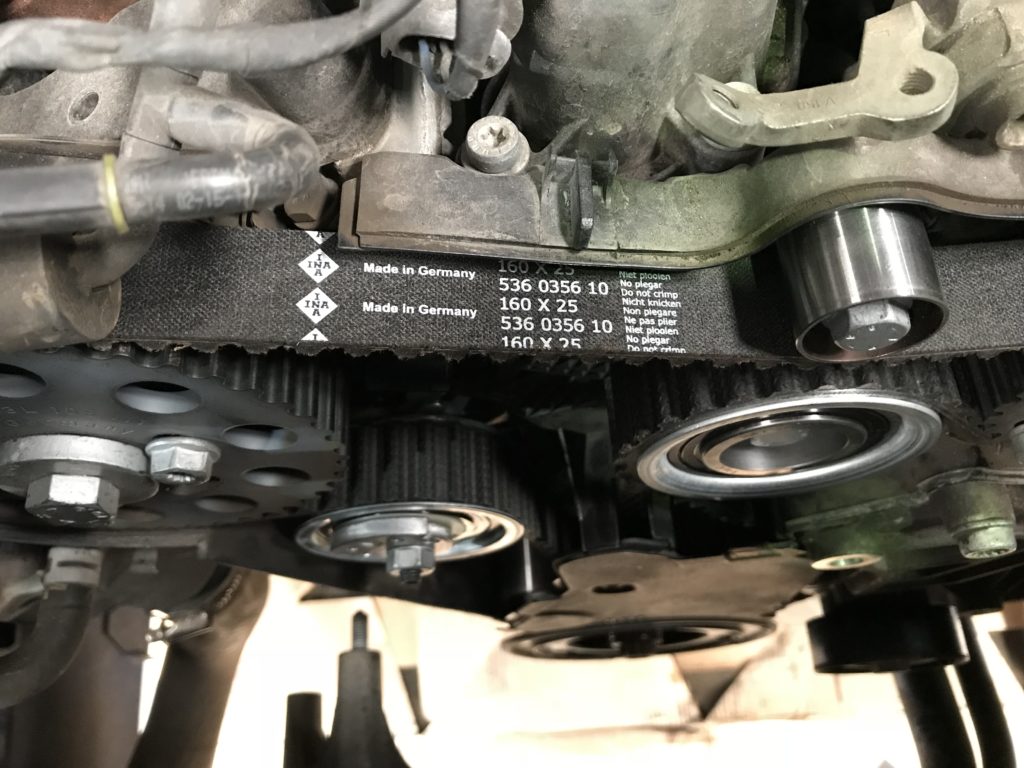
Fit the new timing belt by starting at the crankshaft and working in a clockwise direction, finishing off by sliding the belt onto the large deflection pulley. Once the belt is positioned correctly, tension the tensioner by turning the eccentric on the tensioner in a clockwise direction until the two pointers align (Fig 7).
Once aligned, torque the nut to the recommended torque and then the cam and pump pulleys should be in a central position on their bolt holes. If not, adjust the belt position on the pulley and retension. Once confirmed, torque the cam and pump pulley bolts to the recommended torque.
Next, remove the locking pins from the cam and high-pressure fuel pump pulleys, before disconnecting the locking tool from the crank pulley (Fig 8).
Rotate the engine in the direction of two complete revolutions and re-insert the locking tools – this confirms the timing is correct. Also, check the pointer on the tensioner is still in the correct position.
Confirm all nuts/bolts are torqued correctly, and then refit all components in reverse order of removal.
When fitting the viscous fan assembly, install one bolt and then lever the bracket into position so the other two bolts can be installed. Always use new coolant when refilling the cooling system, checking it is the correct grade.
During this particular repair, Alistair also replaced the auxiliary drive belt, as it is recommended when replacing the timing belt. Run the vehicle, topping up the coolant as required. Once the level has stabilised, carry out an extended road test to ensure the cooling system has bled through.
The 4T guidelines
When replacing a timing belt, Alistair recommends that technicians follow Schaeffler’s 4T guidelines:
■ Temperature – Ensure the engine is at an ambient temperature
■ Tools – Always use the correct tools and engine timing tools
■ Torque – Always use a calibrated torque wrench and torque bolts to the manufacturer’s recommendations
■ Tension – The belt tension must be set correctly