In part three, Bosch walks us through the ‘System Overview’ function and its ability to cover all the bases.
One of the key features of ESI Truck is its ability to run a complete system scan to find any issues on any system, rather than choosing a specific system for diagnosis (as will be covered in a future edition of KTS Truck made ESI).
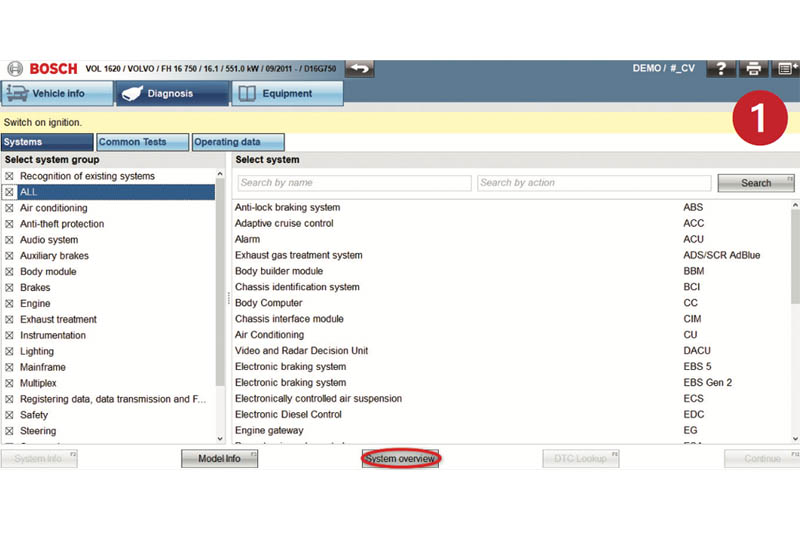
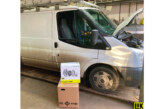
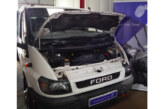
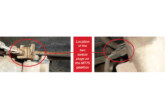
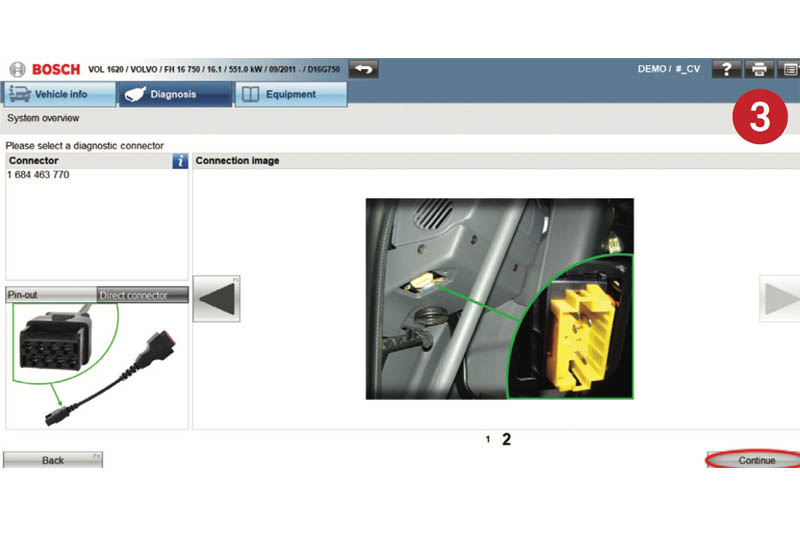
Once the vehicle is selected, the screen with all the available system groups is shown (Fig. 1). At the bottom of this screen is the ‘System Overview’ button. Selecting this takes the user to a screen to determine the type of connection between the KTS Truck and the vehicle. In this particular example, there are two options for OBD cable connection (Fig. 2 & 3).
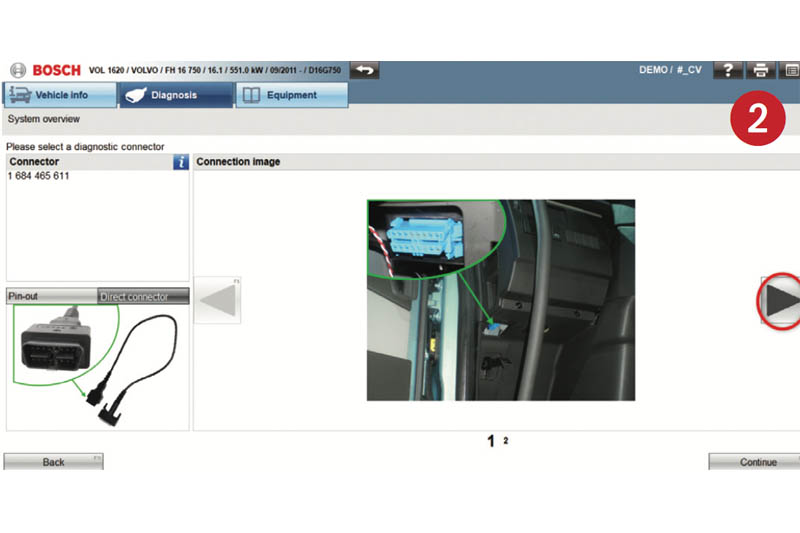
ESI Truck will show location photos and provide the part number and image of the correct OBD cable which is required. As there are two options with this vehicle, it is important that the system overview is started with ESI Truck showing the image for the connection which is in use, otherwise the software will be looking for the wrong connection.
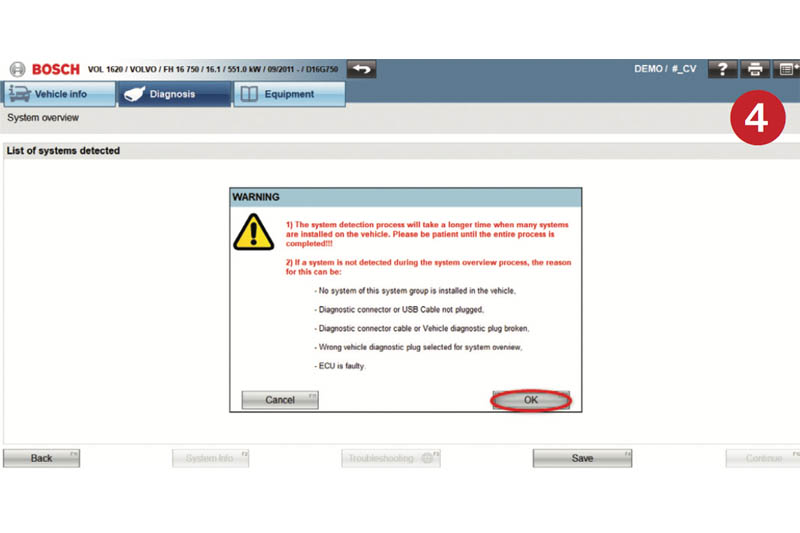
Once the KTS Truck is connected correctly to the vehicle, clicking ‘Continue’ will produce a warning regarding the length of time that it may take to perform a full system scan and the possible reasons for why a system may not be found in the system scan (Fig. 4). Clicking ‘OK’ will start the system scan and the list of systems detected will appear in the software.
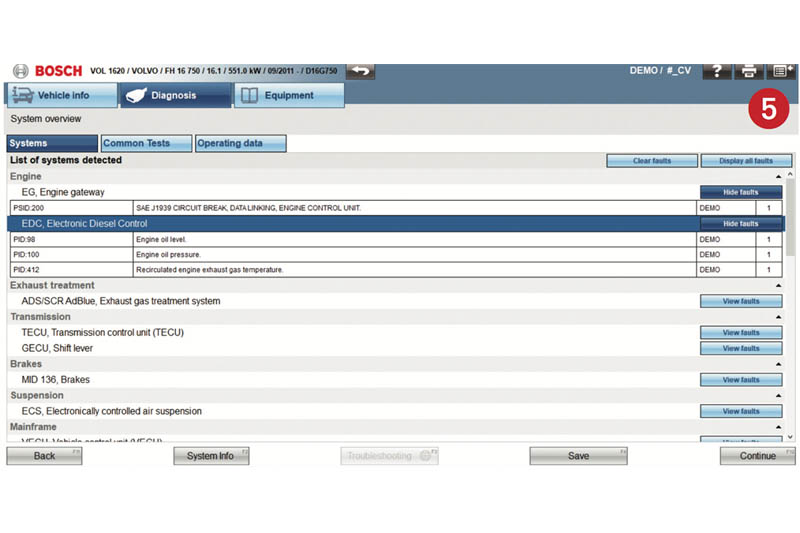
Each system which is detected is shown on screen (Fig. 5) and each line can be expanded to show the faults which the software has picked up for each system. These can be selected individually in order to perform troubleshooting or to assess the actual values of the system.