How to conduct a brake decelerometer test
Chris Bailey, Bowmonk-Tapley, walks through the important stages of conducting a brake decelerometer test.
When checking mechanical and operational procedures there is often the risk of performing them in what is perceived to be the correct manner, when actually this is not the case, thus potentially resulting in a failure or malfunction. The same can be said when using complex testing equipment. If a value is generated when using any kind of testing equipment, are we absolutely sure it is the correct value? Are we sure we are correctly applying the appropriate method?
The same can be said for using a brake decelerometer for checking a vehicle’s braking efficiency, which is why we at Bowmonk-Tapley, the manufacturer of BrakeCheck, have produced a step-by-step operational guide.
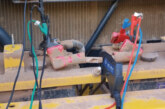
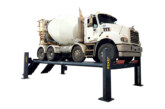
A decelerometer test can be used on all classes of vehicle where a roller brake tester is either inappropriate or is inaccessible. A decelerometer test requires the vehicle to accelerate to around 20kph, at which point the service (foot) brake is applied as a controlled emergency stop. The same procedure applies to the parking (hand) brake.
How to conduct the test:
1- Position the BrakeCheck unit on a level surface, such as the passenger side foot well.
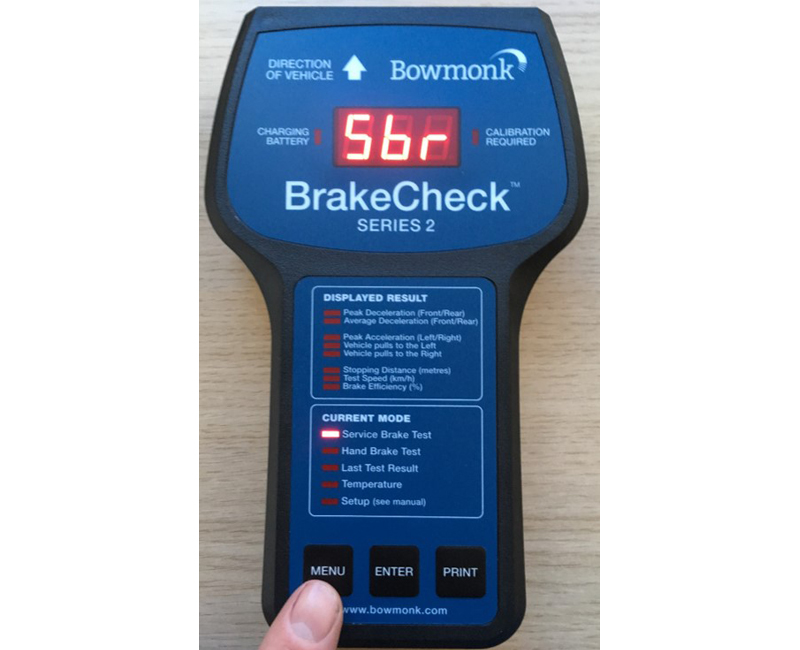
2- Switch the unit on by pressing and holding the menu button until Sbr appears in the display.
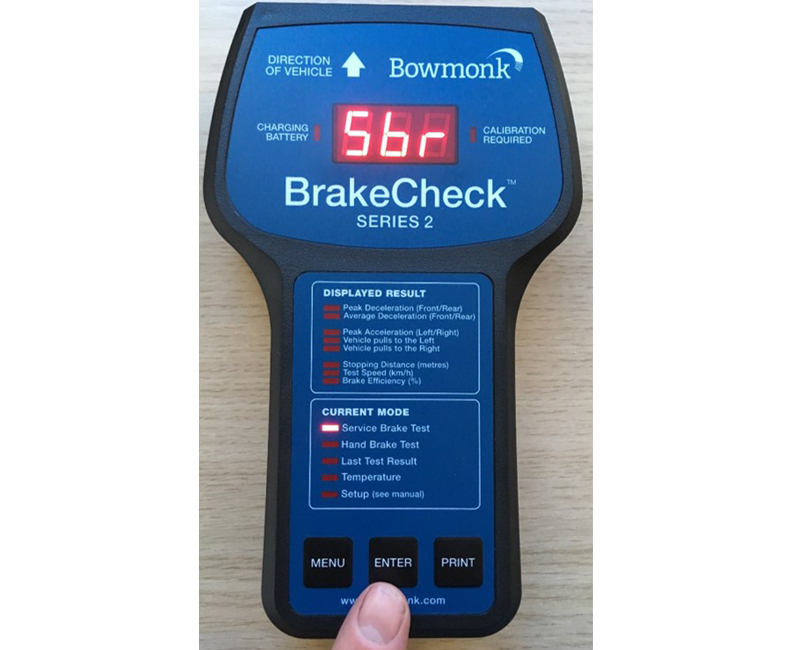
3- Confirm service brake choice by pressing Enter
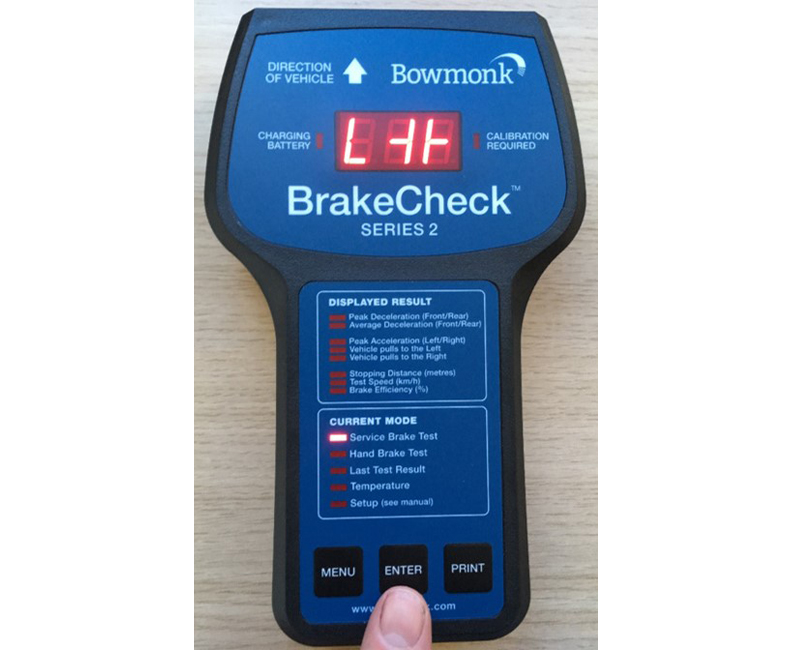
4- When the unit is positioned level enough to start the test the levelling symbol will be shown on the display: Once the symbol is displayed press Enter. The unit is now ready for the test.
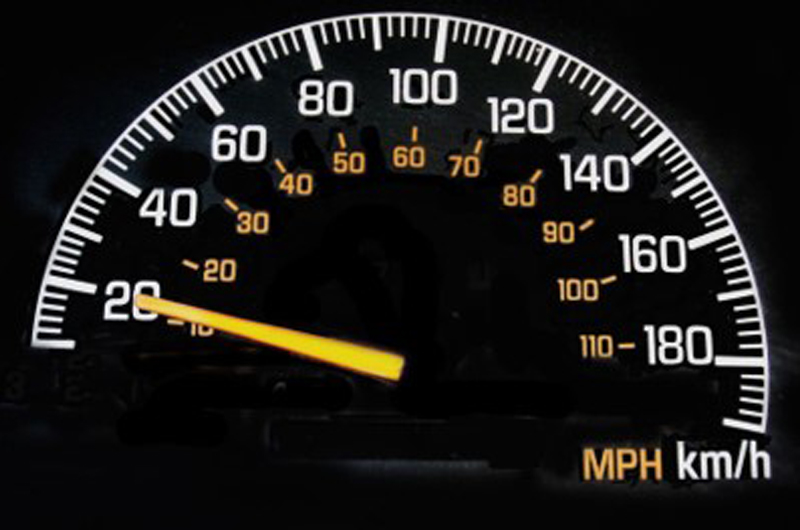
5- When the test area is clear, accelerate the vehicle to a test speed of 20kph.
6- Once the vehicle is travelling at this speed, check for traffic approaching from behind.
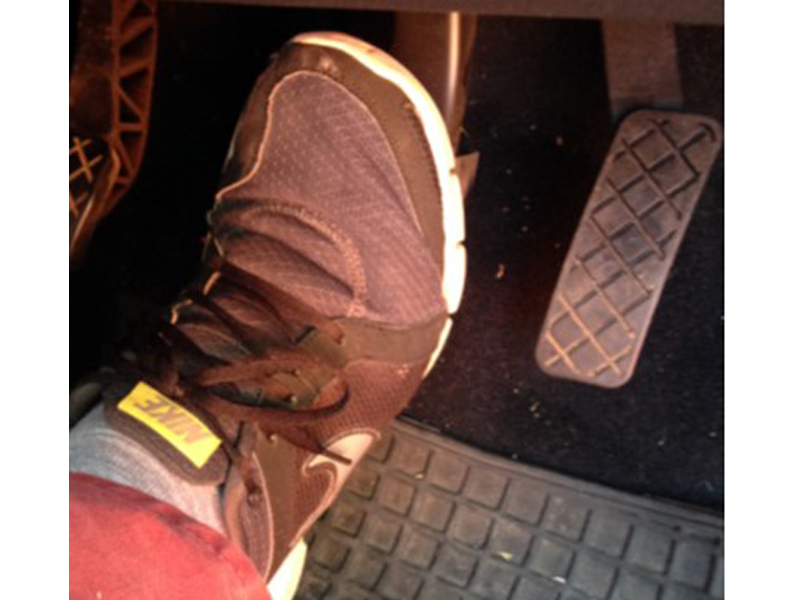
7- If safe to do so, apply the footbrake as a controlled emergency stop, without skidding.
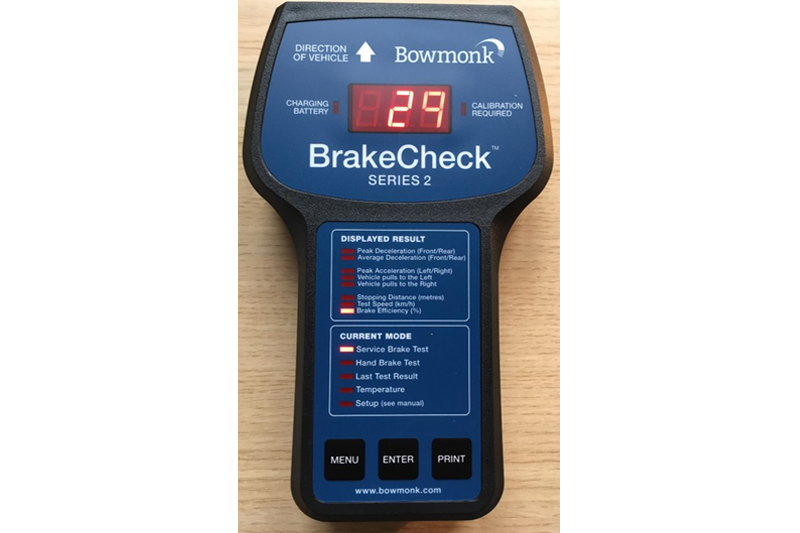
8- Once the vehicle has been brought to a complete stop, the unit will generate and display a braking efficiency value.
9- Once the service brake test is complete, change to hand brake mode by pressing the menu button (so that the hand brake test LED is illuminated). As before, confirm this choice by pressing Enter, which will take you to the levelling display.
10- Press Enter when the level indicator is displayed.
11- As before, accelerate the vehicle to the test speed, this time applying the hand brake to stop the vehicle. Note: please check with your vehicle manufacturer if this type of procedure is appropriate.
12- Once the vehicle has come to a complete stop the display will show the braking efficiency of the hand brake.
13- To view the service brake test report, press the menu button until the Last Test Result and Service Brake LEDs are illuminated. Then press Enter to display the result, which can now be printed using the optional wireless printer.
14- With the BrakeCheck unit positioned approximately 2-3 cm in front of the infra-red printer, switch on the printer and press the print button on the BrakeCheck to print the test result. In addition to the braking efficiency generated will be the percentage of braking imbalance.
15- To view or print the hand brake test, carry out the same procedure, but use the menu button to illuminate the Hand Brake Test and Last Test Result LEDs together.
16- For PC download option, connect the BrakeCheck to a PC that has the BC print software uploaded and follow the on-screen prompts to download the brake test results.
17- All BrakeChecks now have the MTS connected facility, enabling direct communication with the DVSA in real time.


![Bosch outlines ESI[tronic] workshop software](https://cvwmagazine.co.uk/wp-content/uploads/2025/07/Bosch-ESItronic-25-165x109.jpg)