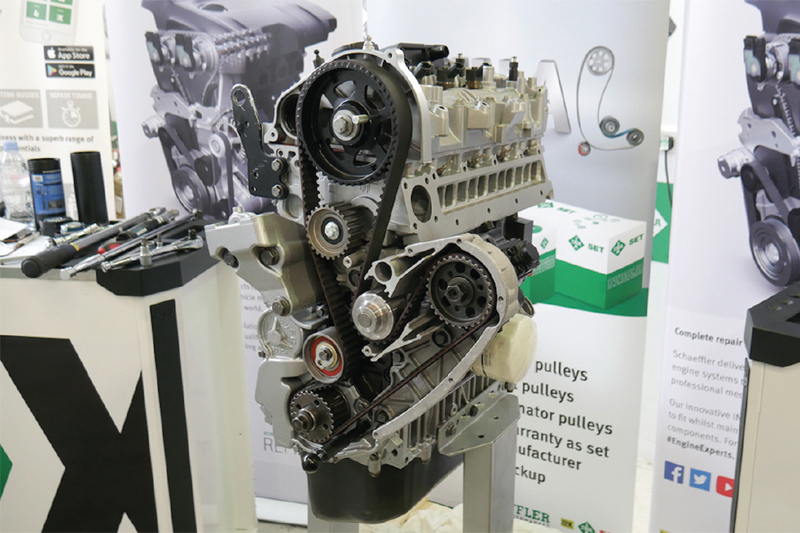
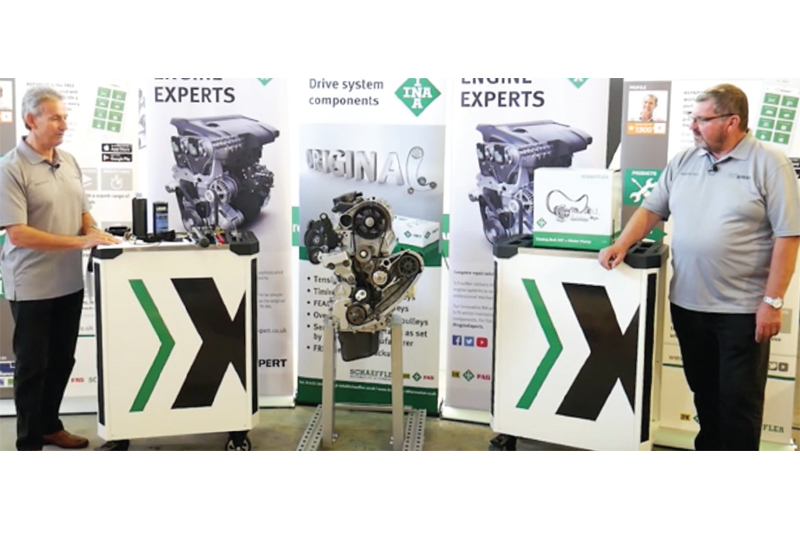
Andrew Vaux and Tim Adams of REPXPERT join forces to show the correct installation of the timing belt tensioner on the 2.3-litre diesel engine in the Fiat Ducato and Iveco Daily.
It is not unusual for vehicle manufacturers (VMs) to change the design of certain components during the production life of a vehicle, and this is the situation with the timing belt tensioner used on this engine, first produced in 2003.
However, this design change has led to confusion as to the correct tensioner set-up procedure, with potentially catastrophic consequences for the units that have not been set correctly.
Technicians should always follow INA’s 4T installation principles: Temperature, Tools, Torque and Tension. The first step is to ensure the engine is at an ambient temperature of between 18-20C, and then to tighten the nuts and bolts to the VMs torque specifications.
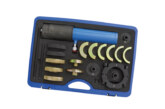
After this, correctly tension the belt – whilst using correct tool, of course. The different tensioner types are shown in the image, one of which features a single notch on the front plate with the hexagon for the Allen key, the other with multiple notches.
Method acting
As Vaux and Adams undertake the two procedures, which are both due every 144,000 miles or five years (whichever comes first), they explain that it is only the tensioner set-up that is different.
The rest of the process, including the number of complete engine rotations carried out between setting the high and nominal tension (eight) and when checking the final valve timing following the installation (two), remains the same.
The first example is the multi-notch tensioner which, once the bolt has been slackened, requires the Allen key to be turned anti-clockwise until the notch closest to the hexagon aligns with the indent.
Then, the bolt is tightened to 36Nm and the camshaft pulley bolt to 130Nm. This is the high-tension position and is required in order to bed the belt into the pulleys and tensioner.
After the locking tools have been removed and the engine rotated, the locking tools are used again and the tensioner set to its nominal tension, which is with the middle notch aligned with the indent.
The second example, with the single notch tensioner, which is also rotated anticlockwise, differs insomuch as the single notch is taken past the indent until it can no longer be seen, before the bolt is tightened to 36Nm.
Following the same locking tool removal, engine rotation, and refitment of locking tools procedure, the tensioner bolt is slackened and the tensioner backed off clockwise.
This is so the notch passes the indent, before finally being positioned in line with the indent and secured to 36Nm, before the concluding timing position check is undertaken. By following the appropriate procedures for these tensioners, made clear by the REPXPERTs here, technicians can now tackle either installation with complete confidence. To find out more about INA’s 4T guidelines and to download VM installation instructions including torque settings, labour times, and more, visit the REXPERT knowledge port or simply download the REPXPERT app, available for free on iOS and Android.