What to look for when servicing LCVs
LCVs are the bread and butter for many workshops. Worked hard and often neglected it’s no wonder parts and components suffer. ZF Aftermarket offers some advice on what to look for.
High mileage, heavy loads, constant use – the light commercial vehicle is a workhorse. With this class of vehicle subjected to considerable pressure and stress, together with the average age of LCVs in the EU being 11.9 years, this segment of the vehicle parc offers significant service and repair opportunities for workshops.
According to the European Automobile Manufacturers’ Association (ACEA), 34.8 million LCVs (up to 3.5 tons gross vehicle weight) are in circulation throughout the European Union and the UK. Counting more than 6.3 million vehicles, France has by far the largest van fleet, followed by the UK (5.3 million), Italy (4.3 million) and Spain (3.9 million vans).
Visual inspection
These vehicles are often used daily to carry high payloads meaning they are also subject to high wear. Failure rates for LCV vehicle safety inspections are higher in all age categories than for passenger cars, reflecting this increased wear. For example, the failure rate for LCVs over ten years old is 30%.
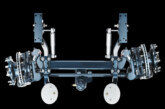
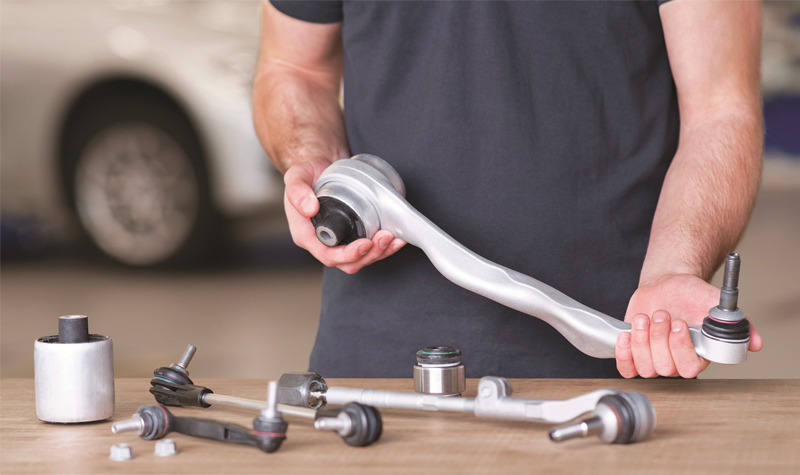
Many businesses use their vehicles’ full permissible payload in daily usage. While the chassis itself may be designed for this kind of usage, compression ball and tie rod joints, stabiliser links and other steering and chassis parts suffer considerably under permanent load. At ZF Aftermarket we recommend workshops visually inspect the chassis, test it for height clearance each time an LCV comes in for repair, replacing damaged and worn components as applicable. This is the only way of guaranteeing safe vehicle handling and ensuring the vehicle passes the next vehicle safety inspection as test centres have hydraulic joint play detectors that ruthlessly pinpoint faults within the chassis system.
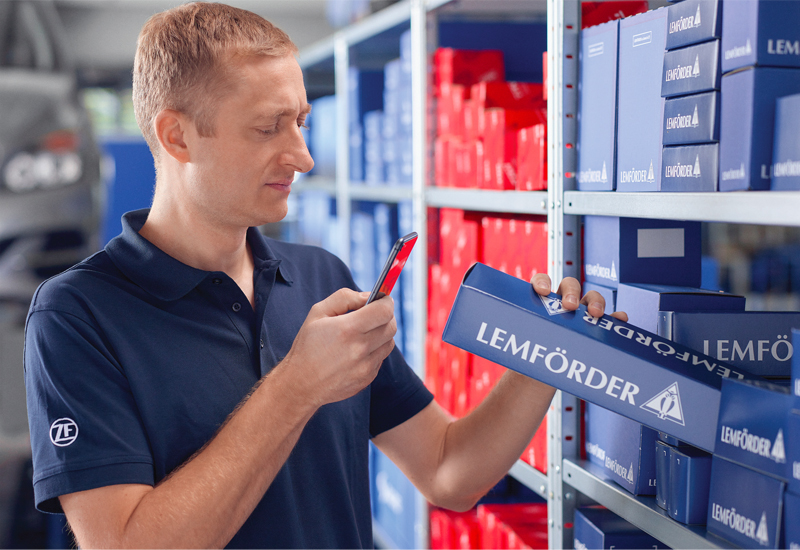
Let’s take the Volkswagen T5 LCV model range as an example. It is one of the most popular vehicles in the segment under 3.5 tons. Under our Lemförder brand, we supply a comprehensive range of chassis parts, including control arms, stabiliser links and rubber-bonded metal mounts. Wear damage on the suspension-strut mount often occurs on this vehicle due to the undersized ball bearing in the initial design. Volkswagen subsequently replaced the component with a version with a larger bearing, although both versions can still be found in the market. ZF Aftermarket offers both variants but we advise customers to upgrade to the new version where the initial version is still fitted. When removing the affected parts, the technician must always note which of the two variants is fitted to the vehicle. A damaged spring plate on the earlier bearing variant means having to replace the entire assembly as new spring plates are no longer available. The workshop should therefore install a new suspension-strut mount, the spring plate and the ball bearing. We also recommend always replacing these parts per axle to ensure consistent vehicle handling on both sides.
Follow procedure
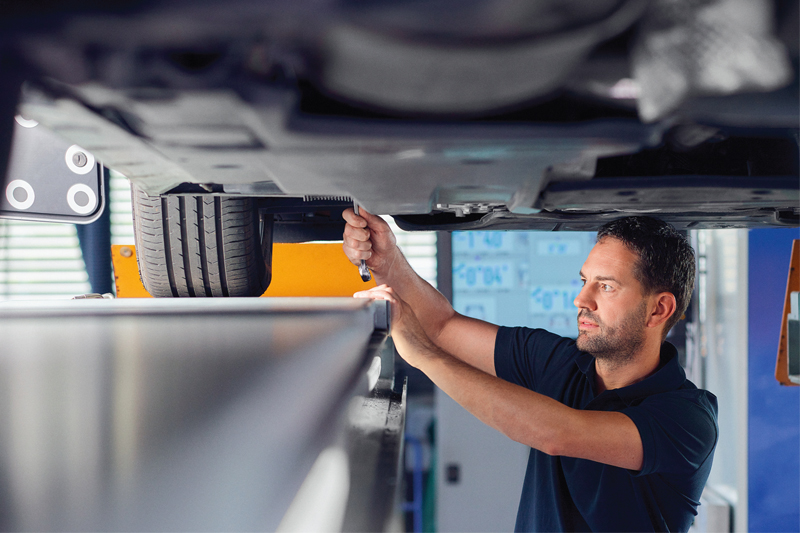
Certain points need to be considered when replacing the T5 control arm. After removing the old part, the technician should clean the supporting surface of the ball stud on the steering knuckle using sandpaper, followed by a suitable cleaning agent. Otherwise, rust and dirt particles may penetrate the joint of the new control arm via the ball stud, resulting in rapid wear.
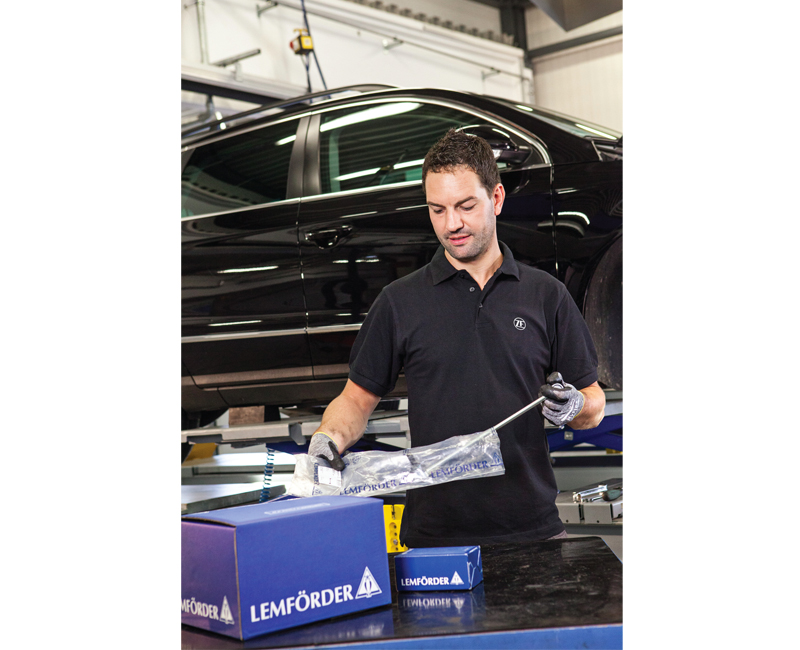
The mechanic must not tighten the mounting bolts and nuts with the suspension still in the fully unloaded state, otherwise the rubber bearings would be deformed when lowering the vehicle onto the wheels. This preloading of the bearings may lead to premature wear. The next work step is to lower the vehicle until the chassis is fully compressed. There may, however, be instructions governing the position in which the bolts and nuts are tightened depending on the vehicle model – so follow VM’s installation procedure. All chassis data specified by the vehicle manufacturer relates to the design position. A four-post lift can be useful here. It allows the nuts and bolts to be tightened to the specified torque. Finally, the workshop must check and set the wheel alignment according to the manufacturer’s specifications.