Checkpoint details the importance of not overlooking wheel defects and its five-step programme for best practice.
Did you know that, on average, there are 11,000 road incidents involving wheel defects each year? With only 68% of drivers operating daily safety checks and 5% never checking their wheels, the dangers surrounding wheel safety are very real.
Thanks to a dedicated team of specialists and over 30 years of experience, Checkpoint provides a whole range of innovative products, all with the common theme of visual safety and preventative maintenance. Today, the Checkpoint range encompasses a variety of products designed to help ensure that the best wheel safety practices are performed.
During winter especially, safety checks and maintenance are more important than ever. Commercial vehicles can easily fall victim to rust, dirt, and damage due to changing weather and road conditions. Equally, before hitting the road, over or under torquing can result in stretched threads and potential stud shearing. If left unchecked, this damage could even result in stud and wheel detachment.
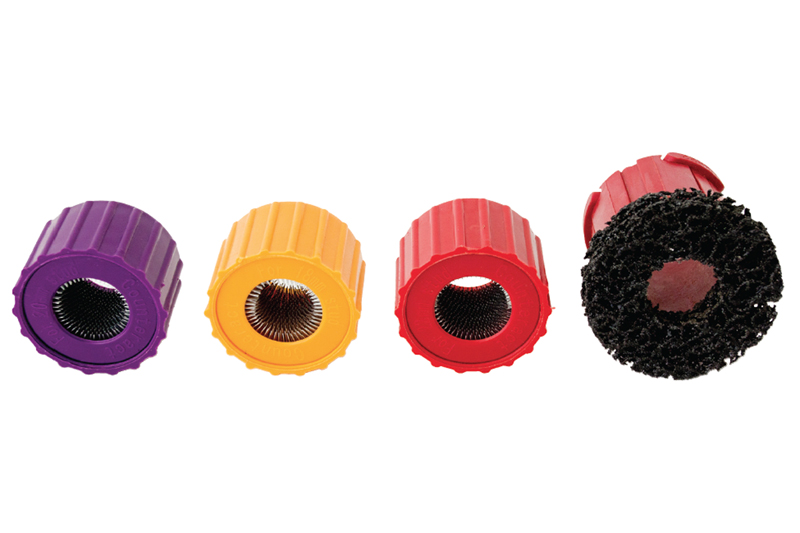
This is where the Checkpoint Maintenance range comes in. The Stud and Hub Cleaning Kit is designed to quickly and effectively eliminate corrosion, grease, and dirt from wheel studs and hubs. This kit helps keep wheel nuts secure and ready for the road. Perfect for workshop use, the kit comes with an aluminium tool, three stud cleaning inserts of different sizes, and a universal hub cleaning insert. All inserts are replaceable and easily interchangeable.
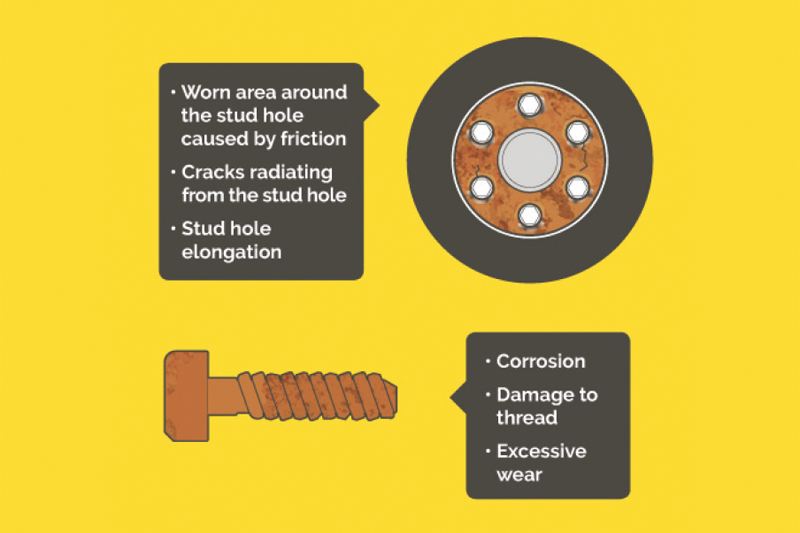
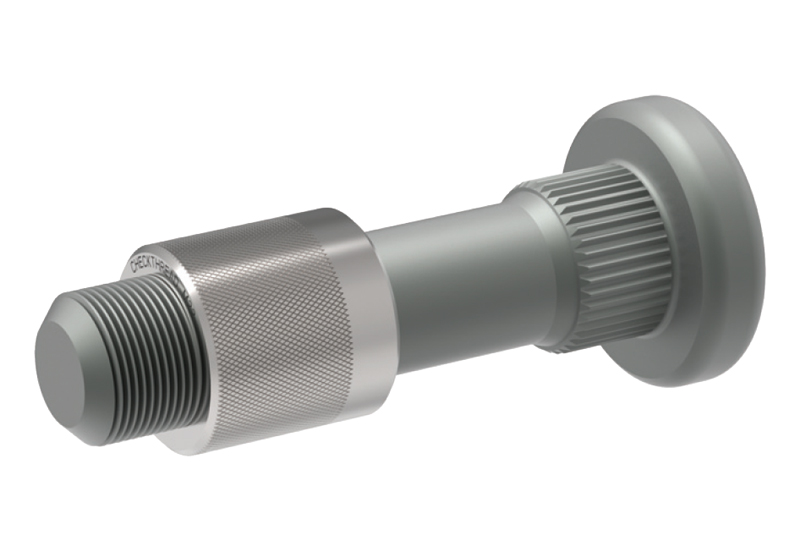
Once the wheel and studs are clean, Checkpoint recommends using the Checkthread Kit – a handy set of tools designed to check the quality and integrity of a wheel stud and stud hole. This kit will determine the correct nut types for a wheel and identify issues such as cracks, corrosion, and stretched threads. Whilst not always obvious upon visual inspection, the Checkthread can easily discover issues by simply running the tester down the stud and feeling for resistance.
Daily checks, re-torquing, and periodic use of Checkpoint’s maintenance range will ensure each vehicle is ready for the road. Furthermore, Checkpoint’s Best Practice Guide to Wheel Safety can further guide technicians on how to check, fit, apply, and inspect wheels.
Best Practice
Step one – Check
- Wire brush the base and threads of each stud to remove any rust or dirt that could compromise the wheel nuts
- Ensure the studs and nuts are free of dirt and grease
- Use a Checkthread kit to check for any damage to studs and threads
- Replace any parts that are worn or damaged
- Ensure correct replacement studs are used to prevent stud breakage
Step two – Fit
- Attach the wheel
- Torque the wheel nuts to the manufacturer’s specification using a correctly calibrated torque wrench
- Ensure the nuts are torqued in the correct sequence
Step three – Apply
- If you are using a Checkpoint Original, Dustite, Dustite LR or Checklink we recommend fitting one in red as a reminder to re-torque this wheel
- Fit the indicators in a recognizable pattern, Checkpoint recommends ‘point-to-point’
Step four – Re-torque
- It is recommended that the wheel is inspected and re-torqued after either 30 minutes or 40-80 miles
- If movement has occurred, a second re-torque is necessary.
- If on the third inspection any further movement is visible the wheel should be removed and a full investigation carried out
Step five – Inspect
- Carry out daily checks as part of your standard maintenance procedure
- Ensure periodic re-torques are completed in line with maintenance procedures
- Report any movement of the indicators directly to the fleet manager and ensure re-torque is completed
- Report any melting of the indicators directly to the fleet manager as this could be a sign of faulty brakes or bearings

