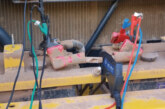
Make some tasty looking repairs with Mirka’s new Galaxy abrasive. Here’s how.
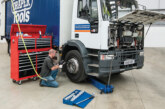
 1. Surface preparation is key. De-grease surface prior to sanding with both a water borne and solvent degreaser.
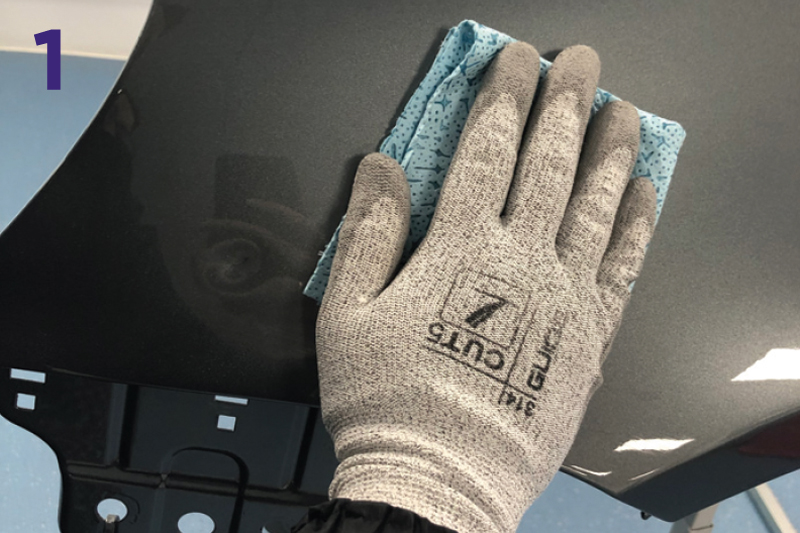
 2. Remove paint from repair area and feather out edges, with sander at a small tilt and strip layer by layer. Use grit 80/120 disc at 8000-9000 rpm.
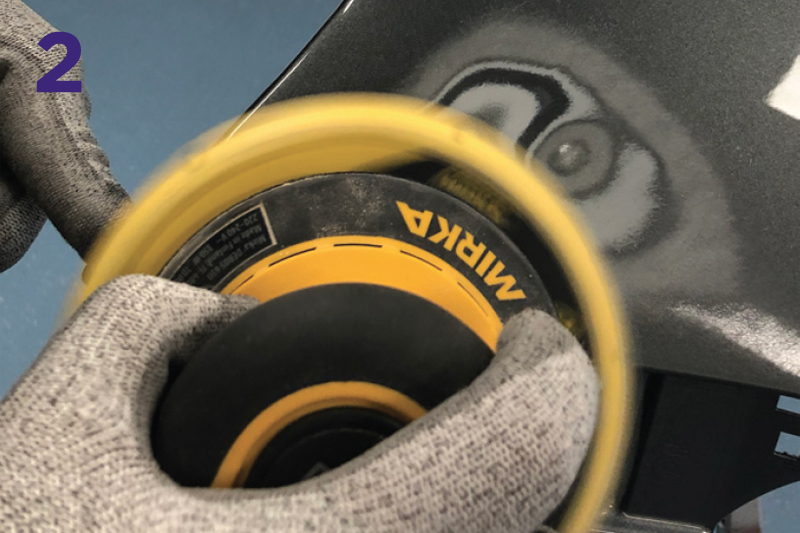
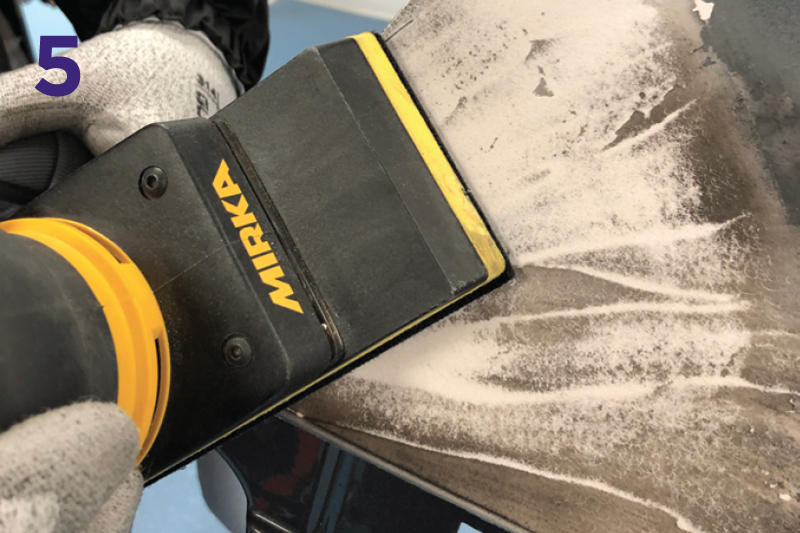
 3. Feather edge, sand flat and make a smooth transition from old paint to metal using 180 at 8000rpm.
 4. Apply filler.
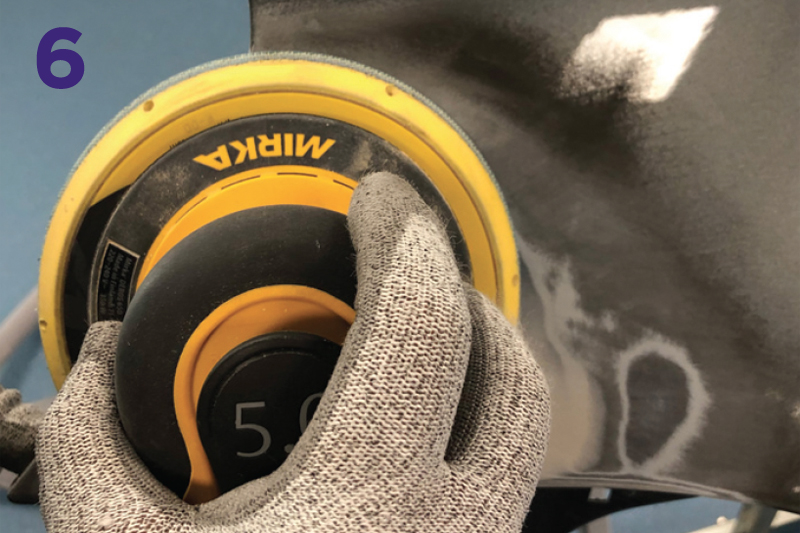
 5. Apply dry guide coat and sand body filler. Start with 80 or 120 and continue on to grit 180. Set sander to 8000rpm.
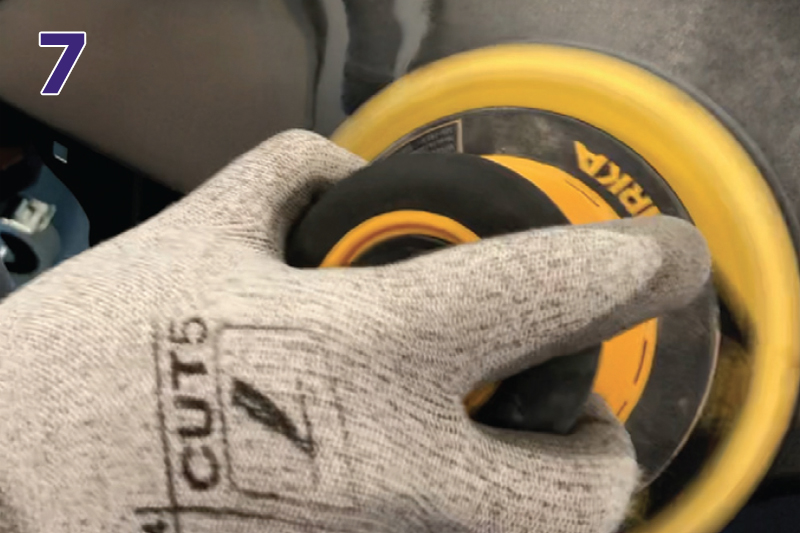
 6. Scratch conditioning/feather edging. Use dry guide coat, sand with 240 grit at 8000rpm.
 7. Move to primer preparation.
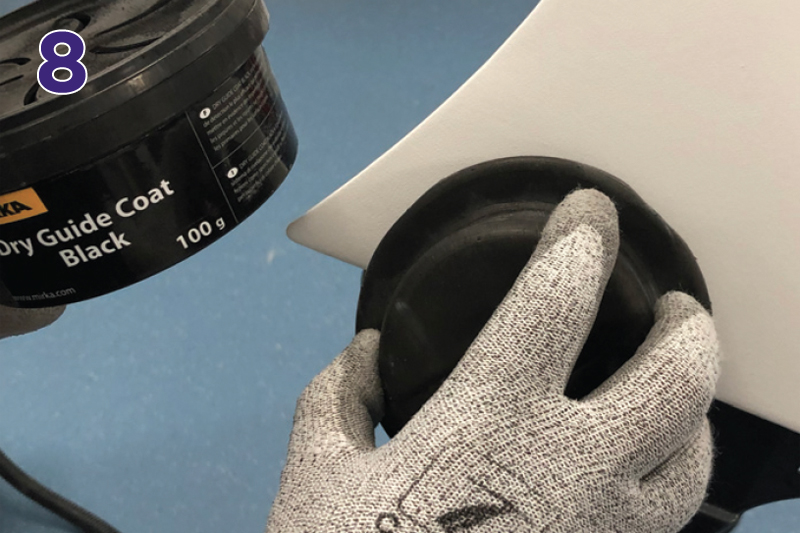 8. Apply dry guide coat to primed area.Use black or white guide coat depending on primer colour.
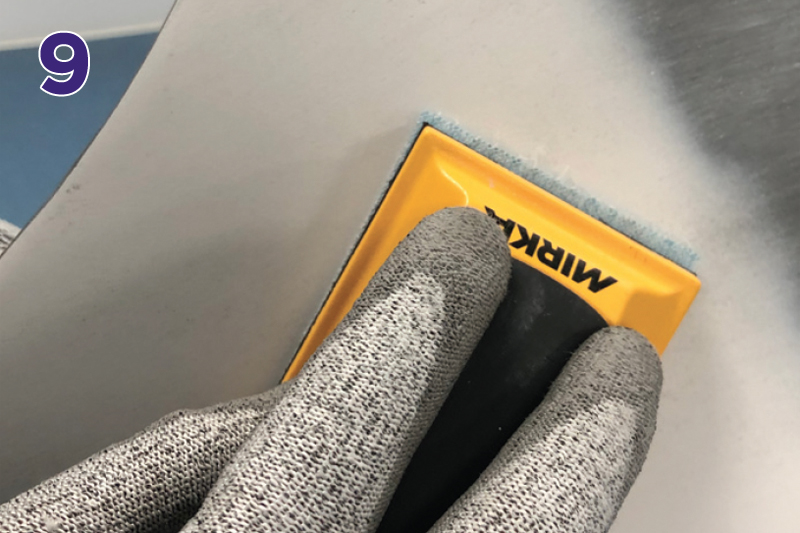 9. Block sand primed area. Use Mirka hand block or Mirka DEOS with 320 grit Galaxy strip.
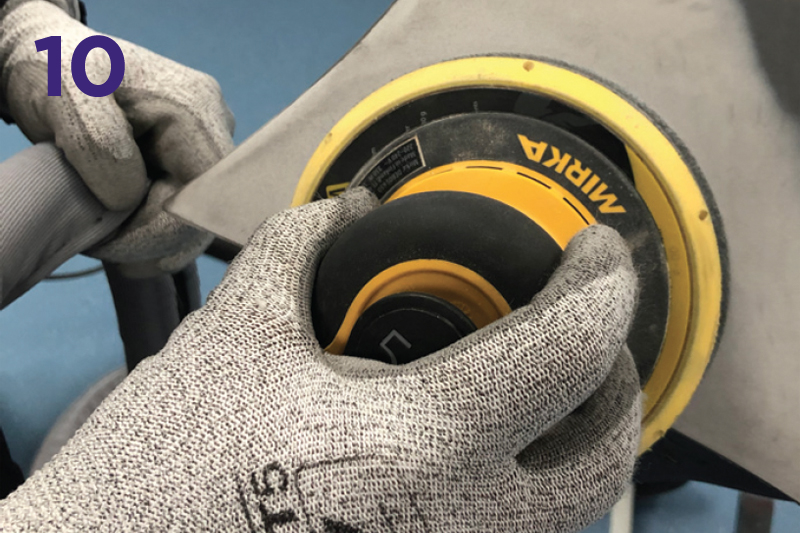 10. Sand primed area with the sander set to 7000rpm. Use dry guide coat and 500 grit Galaxy disc with 5mm or 10mm interface pad.
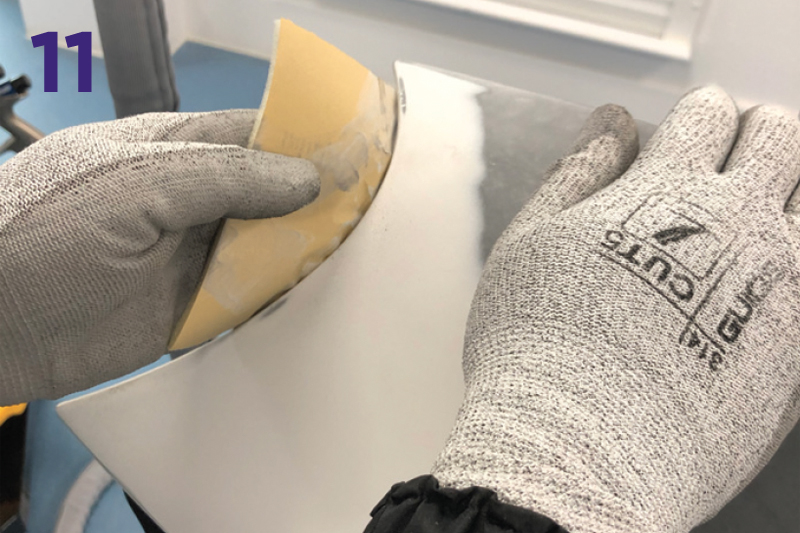 11. Sand awkward areas. Use Goldflex Soft P500 or P800.
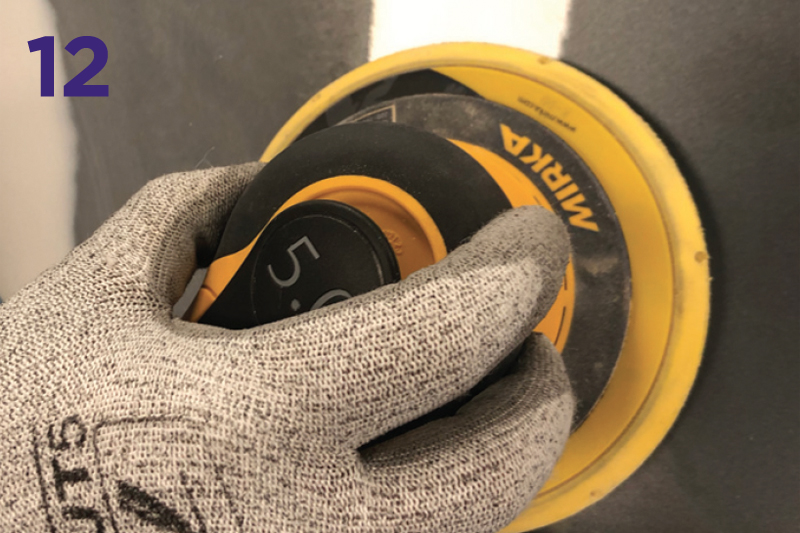 12. Clear coat sanding/ blending. Use Galaxy grit 800 or 1000 with the sander set to 7000rpm with 5mm or 10mm interface pad.
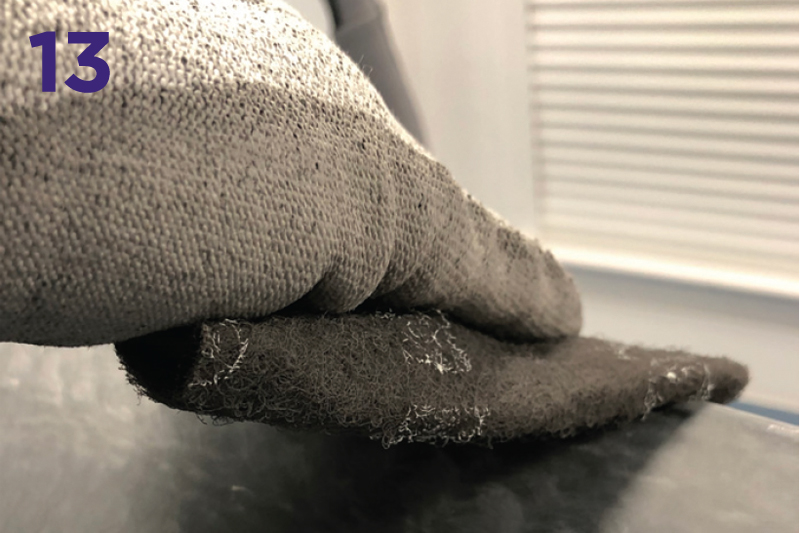 13. Sand edges and swage lines with Mirlon by hand. Use: Mirlon UF (grey).
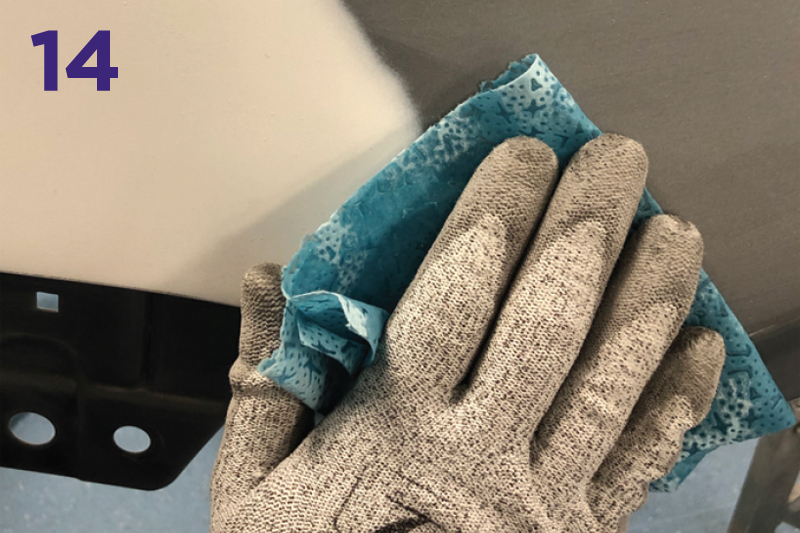 14. De-grease and inspect repair and mask ready for paint.

![Bosch outlines ESI[tronic] workshop software](https://cvwmagazine.co.uk/wp-content/uploads/2025/07/Bosch-ESItronic-25-165x109.jpg)