Schaeffler’s REPXPERT Alistair Mason runs through how to replace the clutch on a Peugeot Bipper 1.2D. The Bipper is a popular small van with many companies, and this step-by-step guide will ensure the clutch replacement is easy to follow.
Installation
Disconnect the battery terminals, remove the retaining strap and lift the battery out of its tray. Unbolt and remove the battery tray, so the gearbox can be seen.
Pop the gear mechanism cables off the ball pivots, detach them from their bracket and stow safely out of the way. Unbolt and remove the gear mechanism bracket and mass damper, then check that the selector arm (see below) is free to rotate on this bracket, as this can be a source of gear change complaint.

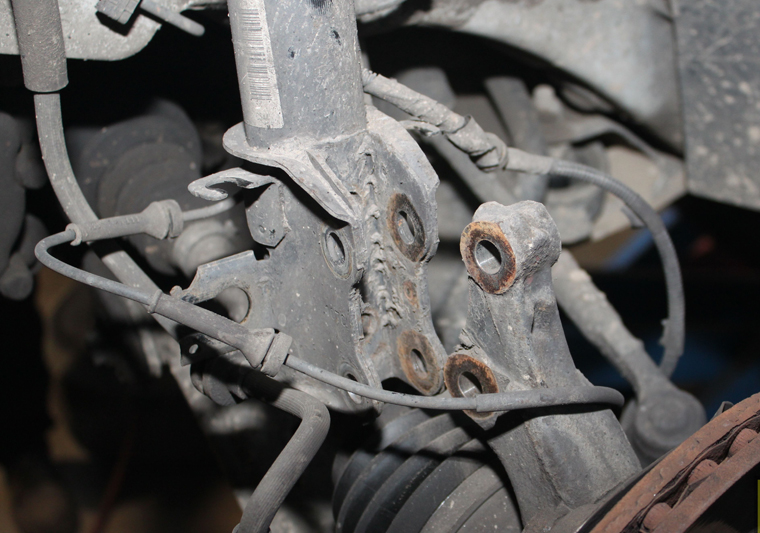
Unbolt the intercooler pipe (see below) and slacken both the road wheels, before raising the vehicle in the air and removing the wheels. Unclip any brake hoses and ABS cables, and disconnect any brake pad warning leads to allow the knuckle to be swung out when removing the driveshaft.
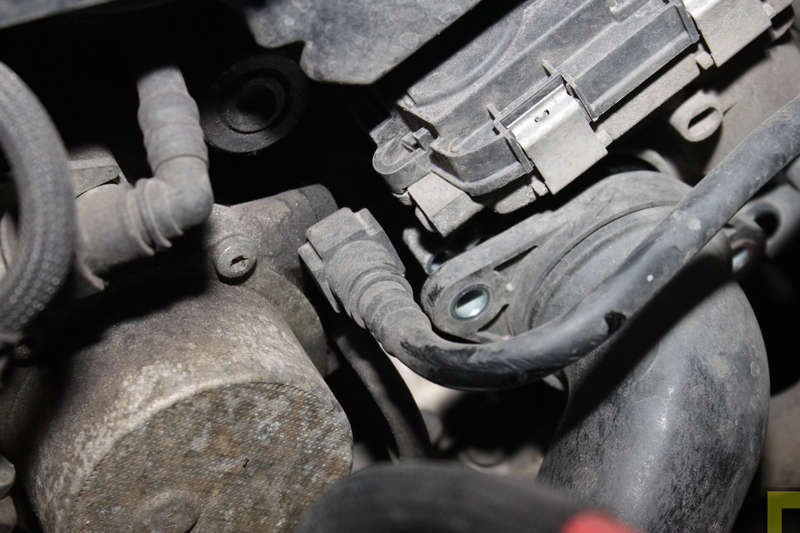
Unscrew and remove the LH driveshaft nut, and then remove the two bolts on both sides (see below), securing the knuckle assembly to the MacPherson strut. Next, detach the fixing nut, retaining the intercooler pipe bracket, before removing the pipe assembly all together.
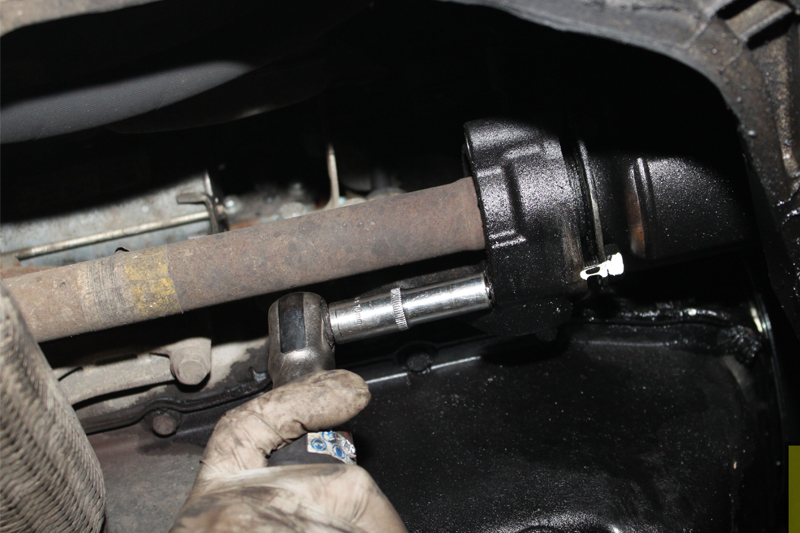
Drain the gearbox oil (see below) into a suitable receptacle, and while it is draining, mark the RH driveshaft centre bearing retaining plate (see below) as the holes are offset, then remove the bolts and refit the cleaned gearbox drain plug.
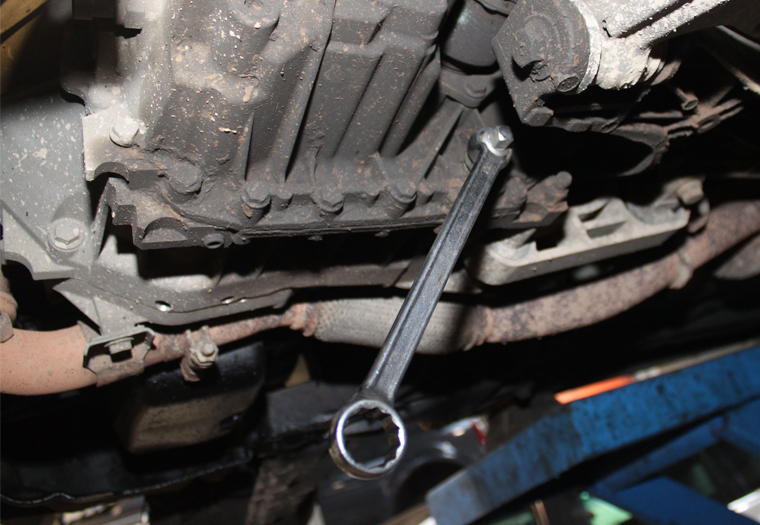
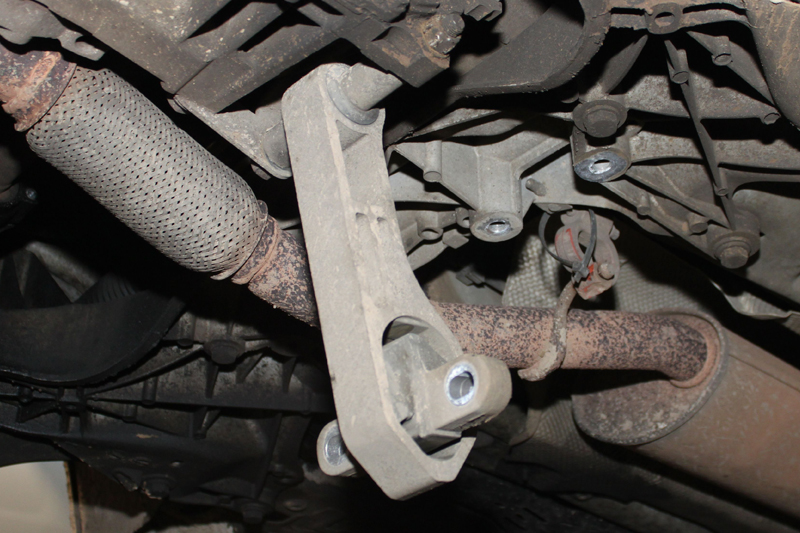
Next, pull the knuckle away from the car and remove the LH driveshaft all together, then support the knuckle with a cable tie or similar to prevent damage to brake hoses etc. Unbolt the rear engine tie rod at the rear, and allow it to hang on the gearbox (see below). Unbolt the lower bell housing bolts.
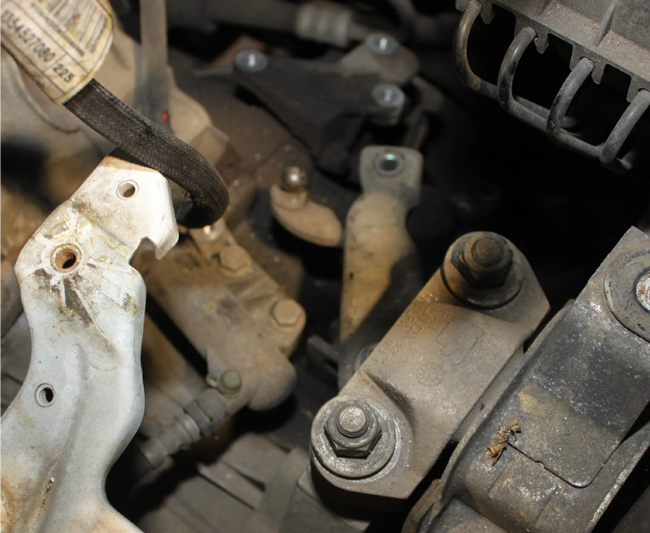
Lower the vehicle again, and slacken the gearbox mount to allow access to a hidden bolt underneath the saddle, which secures a strut to the gearbox that is preventing access to the slave cylinder bolts. Loosen the upper fixing, and remove the lower fixing of that strut and move it out of the way (see below). Unbolt the slave cylinder and stow it safely out of the way.
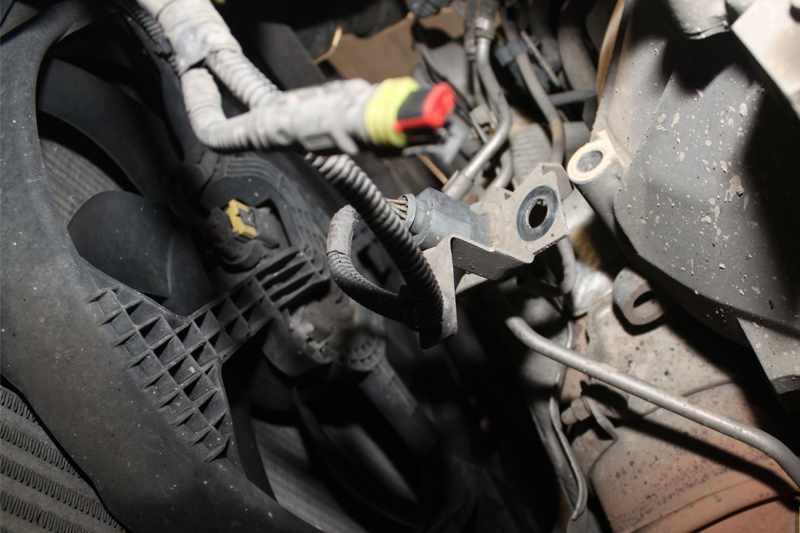
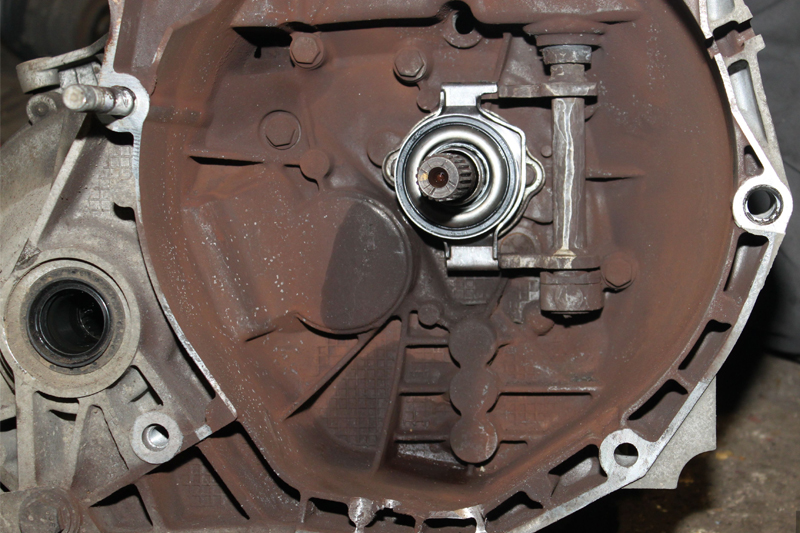
Next, support the engine and remove the gearbox mounting fixings. Detach the upper bell housing bolts and the one securing the harness bracket (see below) at the front of the engine; however, leave one to secure it, and then, from within the wheel arch, remove the gearbox mounting bracket bolted to the gearbox. Support the gearbox before extracting the RH driveshaft from it. Undo the last remaining bell housing bolt, withdraw the gearbox and lower it to safety.
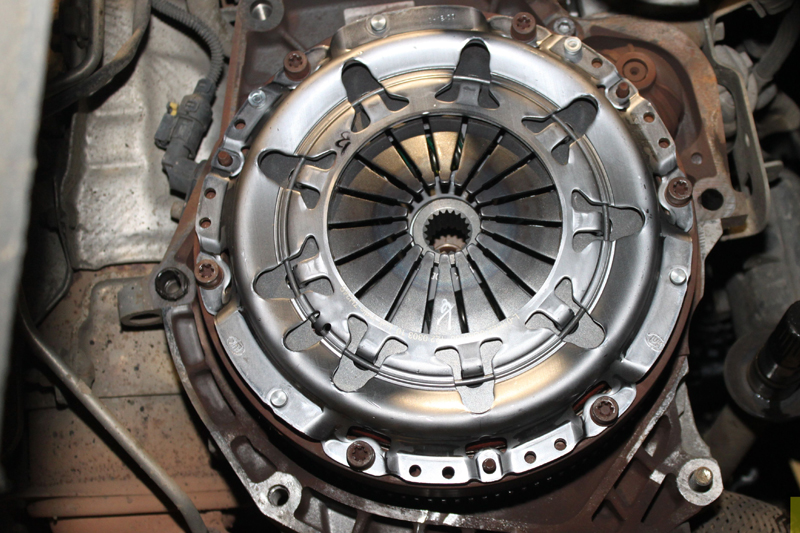
With the gearbox safely on the floor, the bell housing can be cleaned and the fork, cross-shaft bushes and guide tube inspected. The steel guide tube and the plastic housed release bearing do not need to be lubricated, but a small amount of grease on the input shaft splines will help, then slide the driven plate back and forth a few times before rotating and repeating until the grease is evenly distributed. Use a clean cloth to remove any excess grease, as clutches and grease don’t mix! Replace excessively worn cross-shaft bushes, as this can transform a poor clutch feel. Fit the new release bearing (see below) and check its operation.
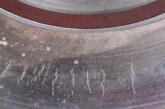
As it’s a solid flywheel in the Bipper, clean it off with solvent and inspect for deep grooves or damage.
After centralising the clutch, it can be fitted – remembering ‘Getreibe Seite’ is German for ‘Gearbox Side’. Bolt the pressure plate assembly on (see below) and bolt up evenly and sequentially. After checking the two gearbox dowels are in place, the gearbox can be refitted and then the van rebuilt as stripped.