Transmission systems specialist Valeo talks CVW through a fitting guide of a pull type clutch with snap on/snap off mechanical bearing.
According to Valeo, a pull type clutch with snap on/snap off mechanical bearing replacement consists of six main stages:
1. Tooling and kit contents check
2. Dismounting defective clutch
3. Fitting pressure plate cover assembly and driven plate
4. Bearing replacement
5. Fitting of the gearbox housing
6. Reinitialisation and road test
STAGE 1
Tooling and kit contents checklist
The generic tools you will need to operate a successful fitting operation safely are:
1. Lever arm
2. Torque wrench
3. Release wrench for cover assembly
4. Driven plate centring tool
5. Fitting pins
6. Crankshaft rotator
7. Clamp for release bearing
8. Flat wrench for pilot bearing release tool
9. Pilot bearing disengagement tool
Valeo’s replacement clutch kit is composed of three components: pressure plate cover assembly, driven plate and mechanical release bearing and always includes a fitting instruction.

STAGE 2
Dismounting defective clutch
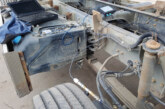
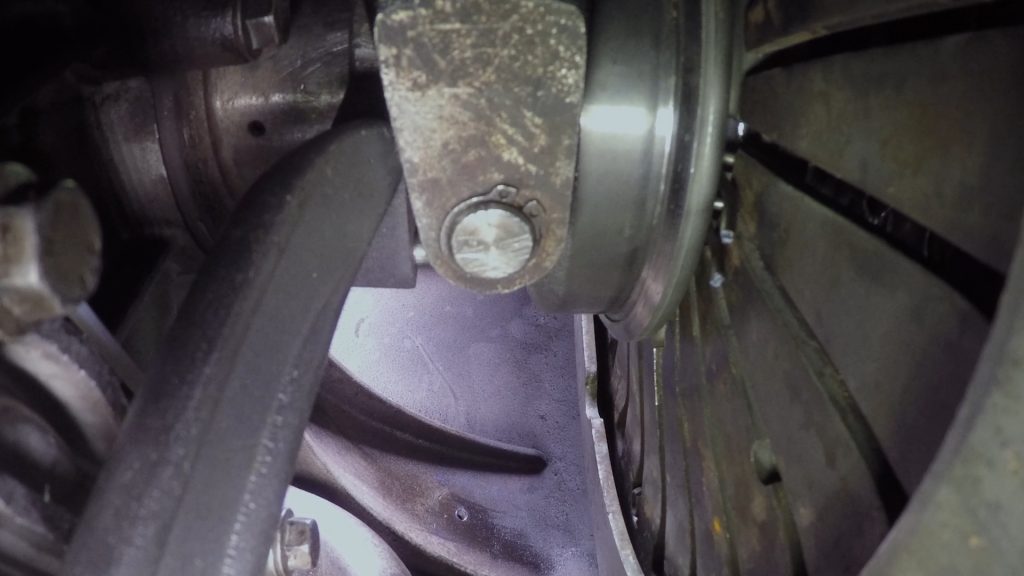
Before moving the gearbox out, you will have to perform some operations to disengage the release bearing and the fork from the clutch. Open the gearbox housing trap door. Please note, depending on the vehicle brand, opening of gearbox may vary.
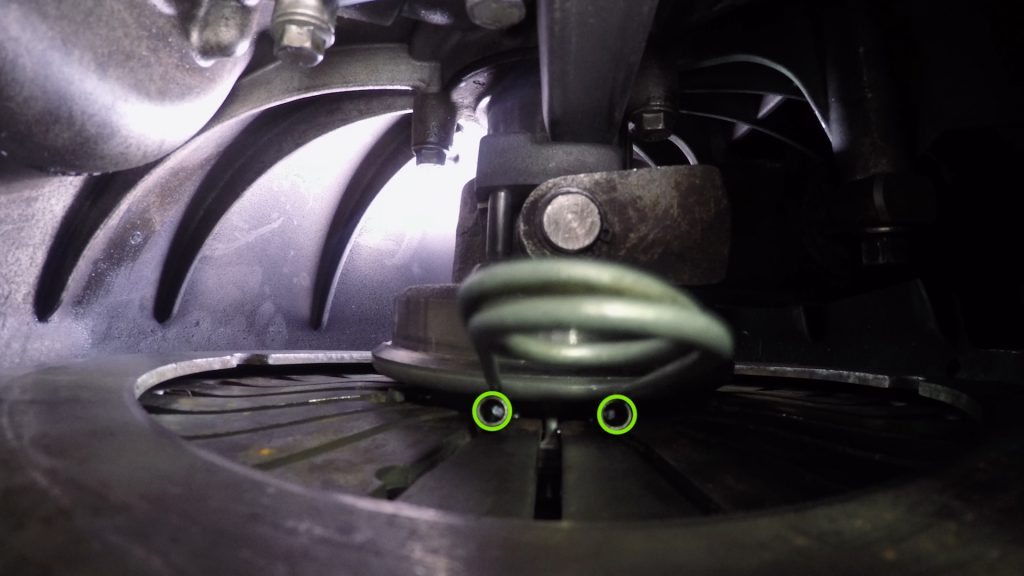
First use the crankshaft rotator from the vehicle manufacturer to rotate the flywheel. This operation will make the hooking ring on the pressure plate cover assembly easily accessible. Disengage the release bearing and fork to enable gearbox box detachment from the engine. Enter the clamp through the gearbox trap and clip it to the hooking ring. Snap-off the release bearing with the lever arm. You can now unscrew the gearbox screws and move out the gearbox to access the clutch parts.
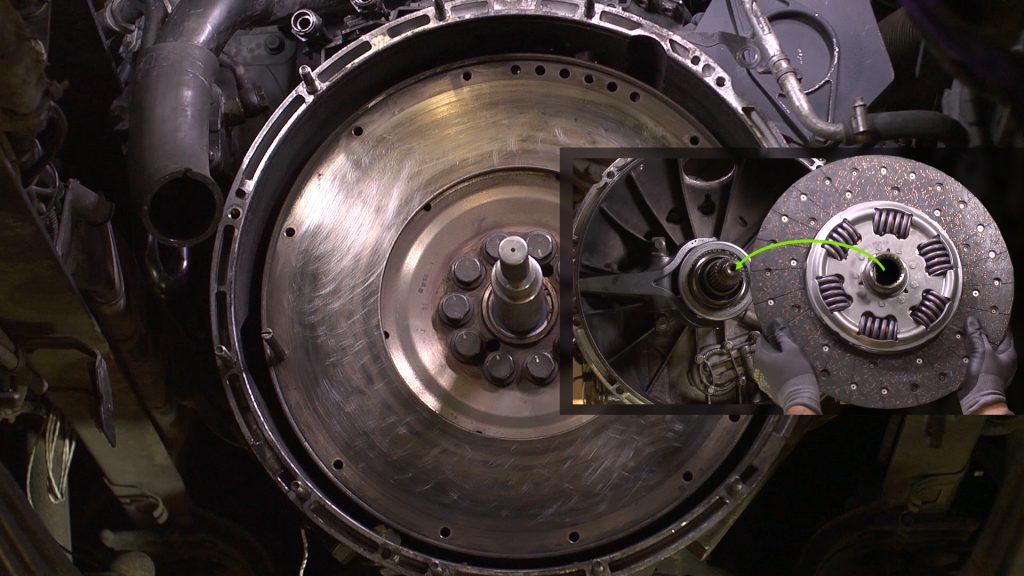
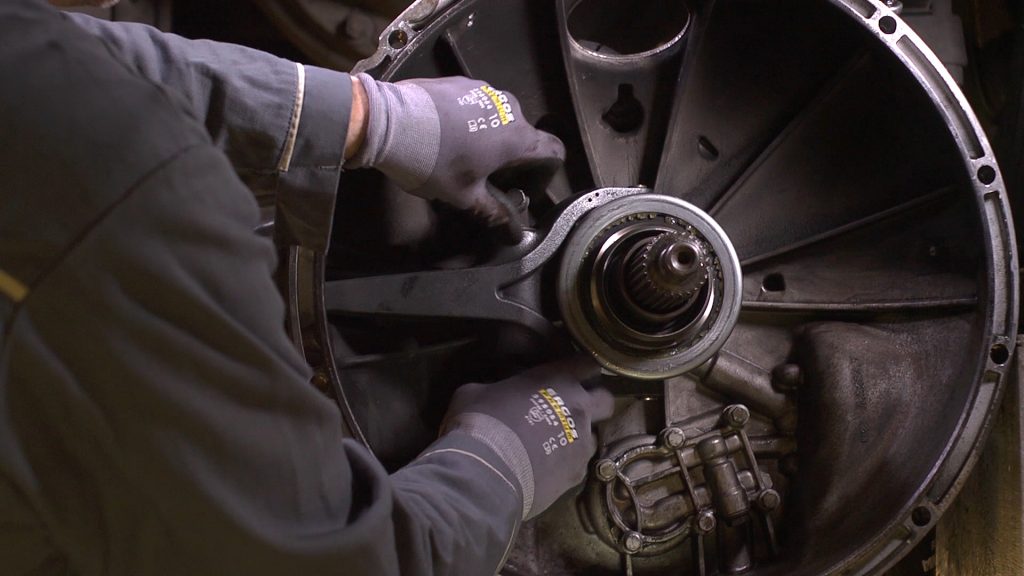
Fix the centring tool, which prevents the driven plate from falling down. Unscrew the pressure plate cover assembly. First unscrew two screws of the pressure plate cover assembly and install two fitting pins. Then unscrew the pressure plate cover assembly according to the correct order. Disassemble the driven plate. Remove the centring tool. Use a disengagement tool to take out the pilot bearing. For safety of driving Valeo recommends changing the pilot bearing each time you change your clutch kit.
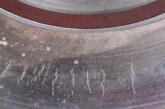
Check that there is no grease around the flywheel. Clean the flywheel using solvent or brake cleaner and sandpaper grit size 150.
STAGE 3
Fitting pressure plate cover assembly and driven plate
Install the new pilot bearing first. Once again, fix the centring tool to prevent the driven plate from falling. Before fitting the driven plate, make sure that its splines do not seize and fit to the gearbox axis.
Make sure you DO NOT put grease on the driven plate; it may alter the friction coefficient! Install the driven plate and the pressure plate cover assembly. Firstly screw lightly the pressure plate cover assembly. Remove the two fitting pins and the two screws. You may check the tightening torque according to manufacturer recommendations.
Valeo strongly recommends NOT USING an impact driver. It may damage the thread! Tighten the screws of the pressure plate cover assembly in correct order by using your torque wrench. When finished, remove the four shipping clips from the pressure plate cover assembly. Finally, remove the centring tool.
STAGE 4
Bearing replacement
Check the tube guide and primary shaft. Before replacing your release bearing, you have to disassemble the fork, which may need to be changed depending on the vehicle mileage or fork’s seizing. Now you can access the release bearing and remove it safely. Remove the old release bearing. Check that there is no grease leak on tube guide and clean the tube guide with solvent and sand paper if necessary. If the fork axle is seized up, add some grease to the fork seating axle.
Fit the new release bearing and tighten the fork with torque wrench. Check that the fork axle is moving smoothly and its condition is good. Change the fork if needed.
STAGE 5
Fitting of the gearbox housing
Close the gearbox housing and tighten its screws. Snap-on the release bearing (accessible through the slave cylinder in some applications). Push twice to ensure good snapping. Check carefully that hooking ring needles are correctly centred at equal distance with centre part of the ring. They should not touch upwards or downwards. Ensure to close the gearbox trap using gum watertight cap to prevent the gearbox housing from dust contamination.
STAGE 6
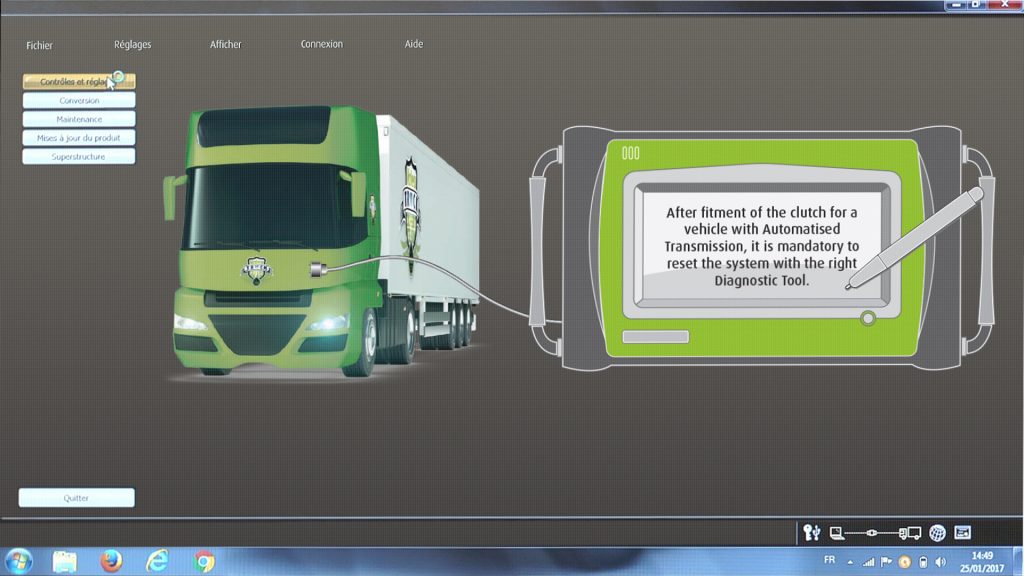
Reinitialisation & road test
Reinitialisation of gearbox with diagnostic tool: After fitment of the clutch for a vehicle with robotised Transmission, it is mandatory to reset the system with the right reinitialisation diagnostic tool. After reinitialisation, you should road test the vehicle.