IMS Limited, exclusive distributor of the SAF-Holland range of products and OE parts in the UK and Ireland, has produced a series of step- by-step guides covering INTRA maintenance. Here, IMS explains how to remove and replace the 3D pivot bush.
The SAF-Holland INTRA range of axle and suspension systems features several unique features, one of which is the 3D pivot bush. The 3D bush is an integral component that is pressed into the suspension arm to absorb wheel, side tilt and braking forces for greatly increased handling and stability. The specialised OE tooling essential for the removal and replacement of the 3D bush is available from IMS Limited.
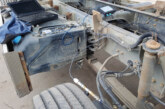
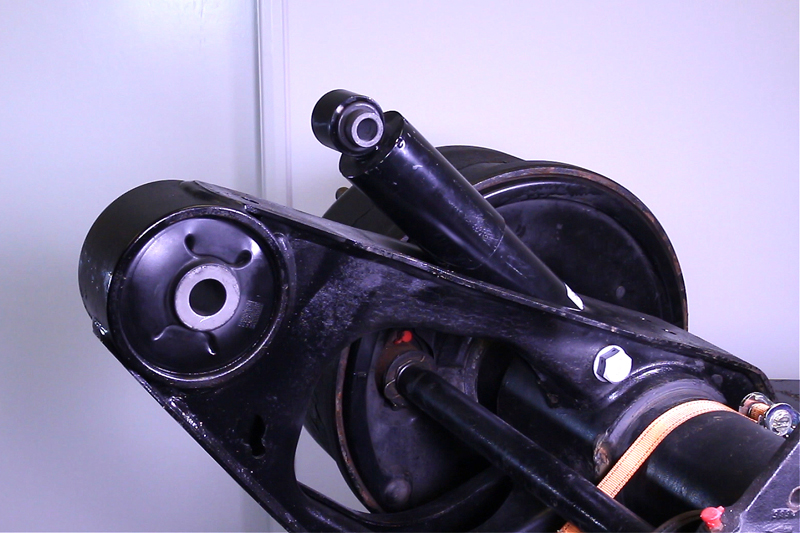
The 3D bush shown in position. Hanger bracket removed for clarity. (main image)
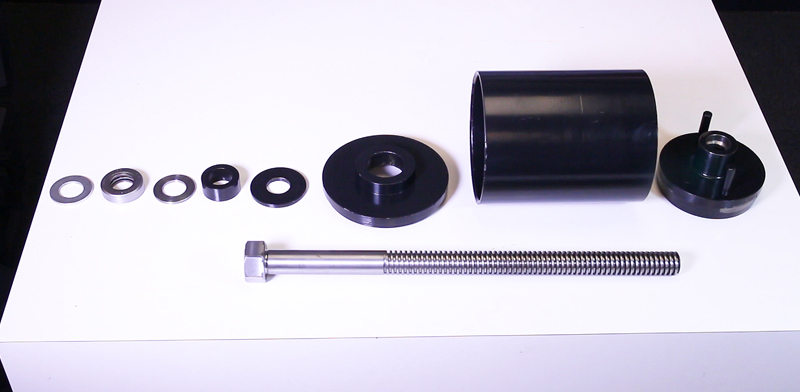
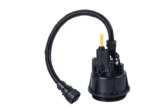
The OE 3D bush tool shown disassembled here, is available direct from IMS Limited and approved distributor partners. Contact details are provided at the end of the article.

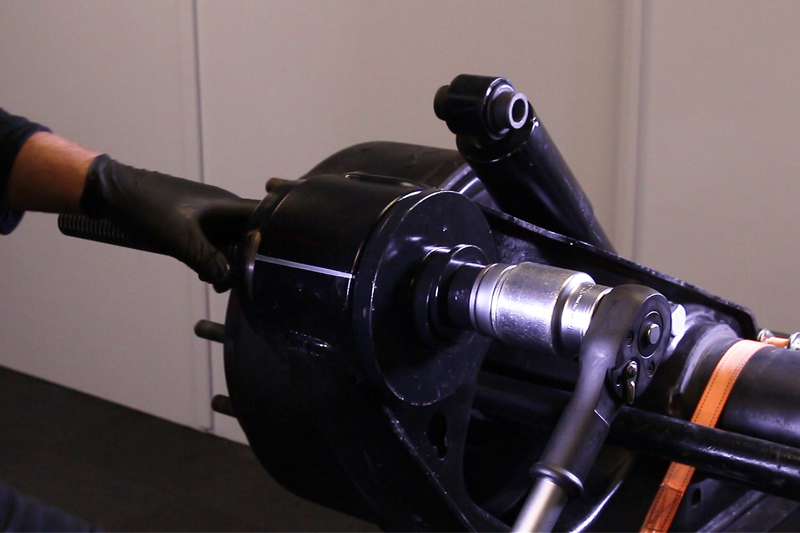
Mount the 3D bush tool on the axle and draw out the old brush.
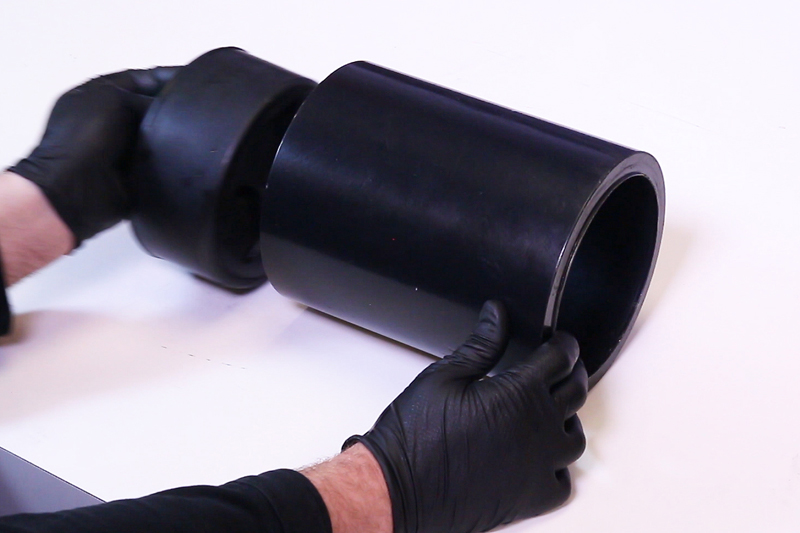
Remove old bush from tool (note: air impact wrenches should not to be used in conjunction with the tool).
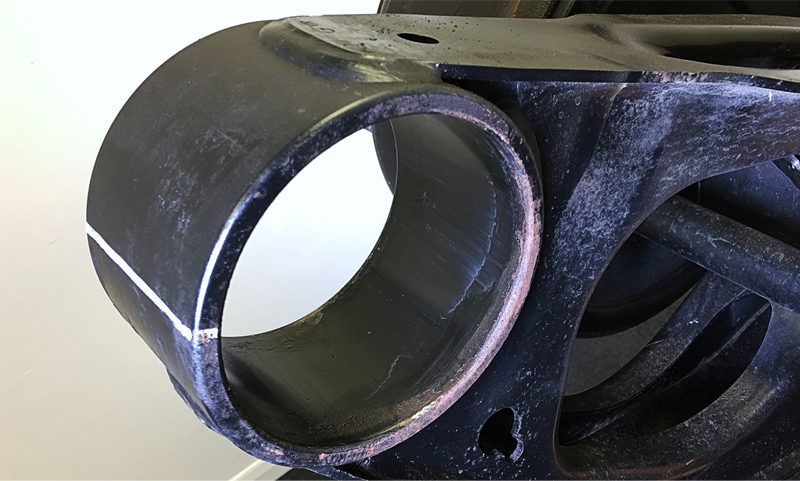
Before re-assembling, ensure the axle is clean, smooth and free from debris/rust.
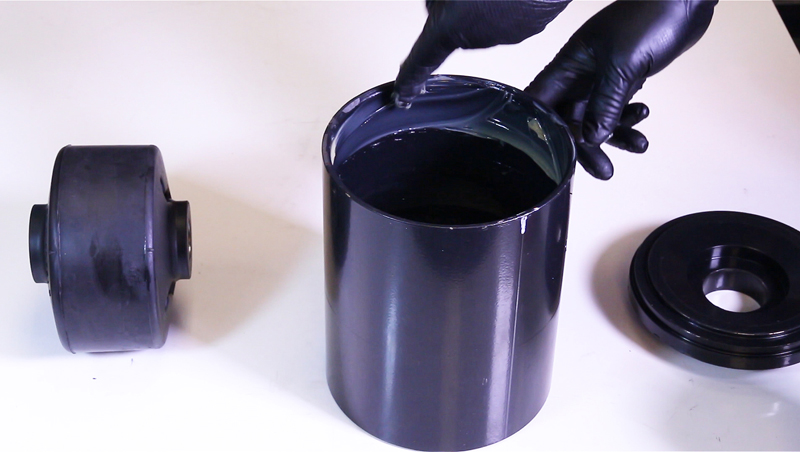
Apply P80 lube liberally to the inside of the trailing arm and tool.
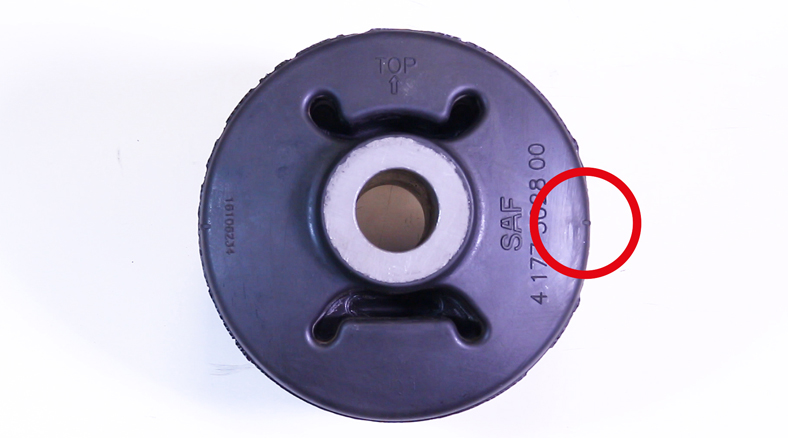
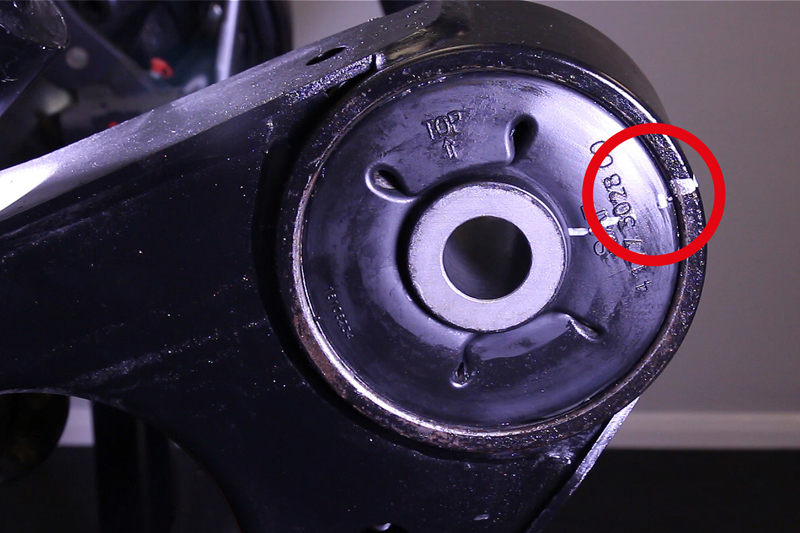
Note the markings on the new 3D bush for correct assembly.
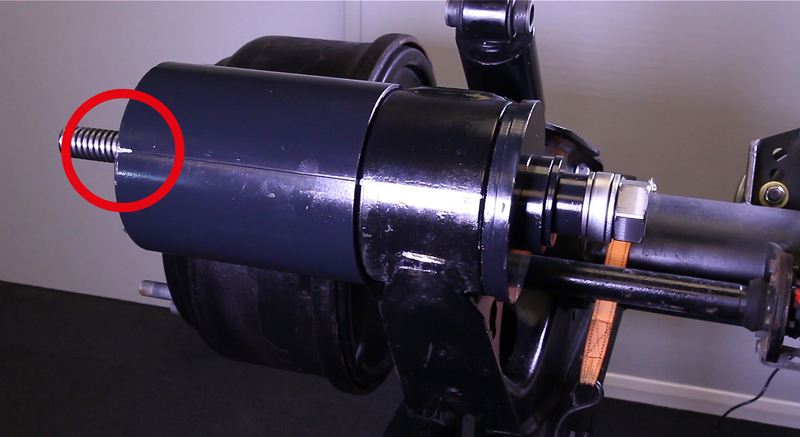
Place the new 3D bush in the receiver tube. Mount the 3D bush tool on the axle, ensuring the correct orientation of the bush.
Ensure that the new 3D bush is fully inserted into the trailing arm before removing the tooling.
Once complete, ensure that the new 3D bush is correctly installed. Both sides should be equal, and the top and side markings must be aligned with their corresponding marks. Note: this should be as if the axle is mounted in the trailer at ride height.