In the last part, we looked at how the System Info tab provides additional information for specific systems within the vehicle. But what should you do once you have selected the vehicle you would like to work on? Bosch explains.
Once you have selected the vehicle you would like to work on, one of the options ESI Truck will give you is to look at the list of common tests which can be performed on the vehicle (Fig. 1). These vary according to which vehicle is selected but can include:
- Functional checks of wheel speed sensors
- Checking axle modulators
- AdBlue testing and DPF regeneration
- Calibration of brake pad sensors
- Cylinder compression tests
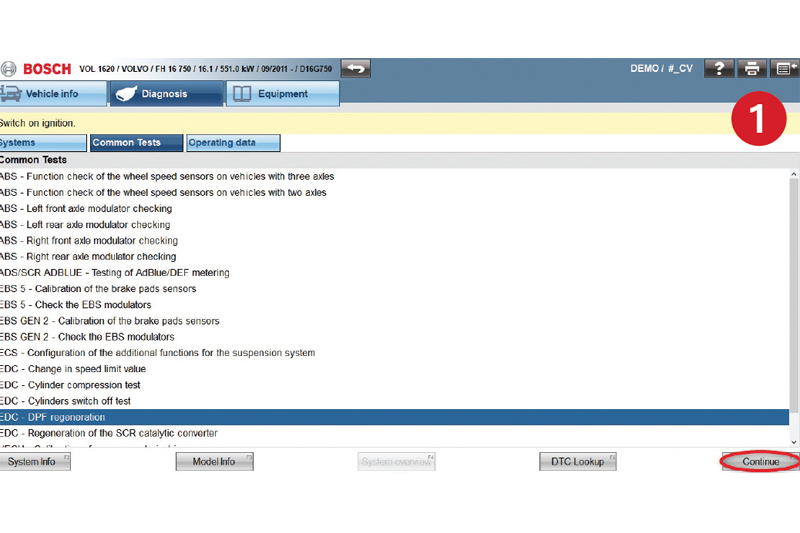
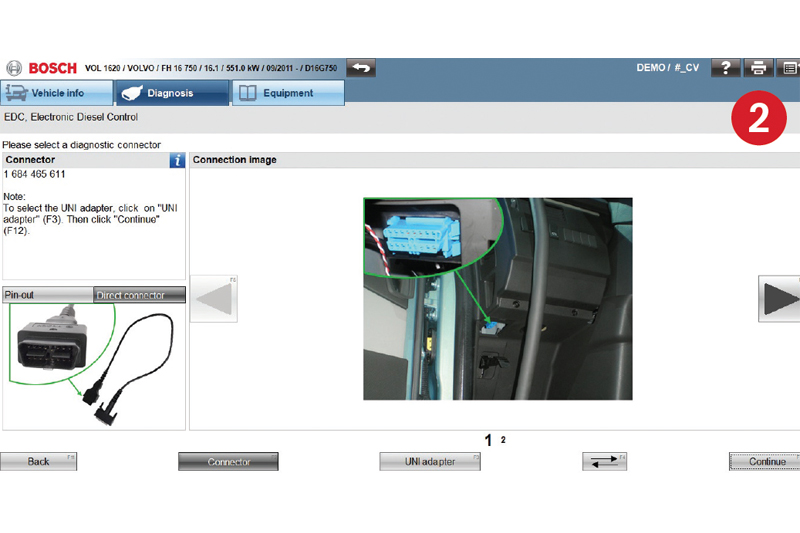 The availability of these tests makes it quick and easy to perform them to get the vehicle serviced and back on the road as quickly as possible. Selecting one of these tests and clicking Continue leads to the selection of connection between the vehicle and KTS Truck which was discussed in ‘Part 2’ of this series (Fig. 2).
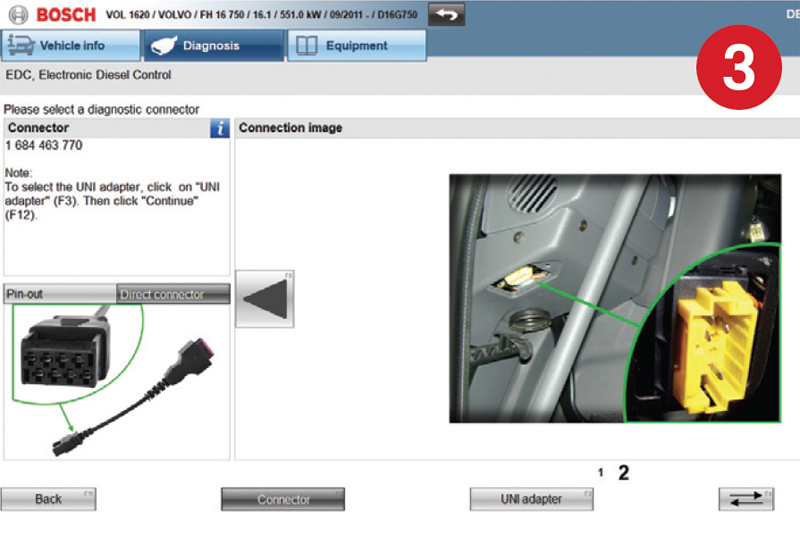
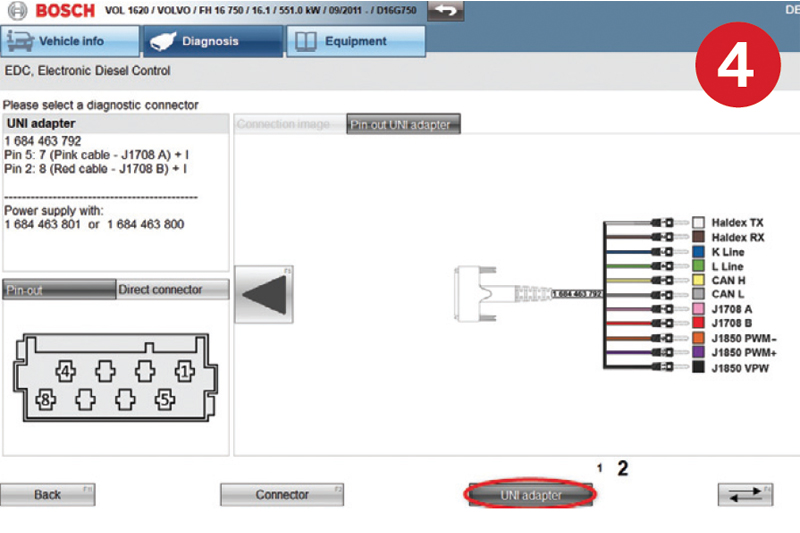
It is imperative that the process is started from the screen with the correct connection image (Fig. 3). If it is not, the KTS will be looking to use pins to receive information which may be incorrect and completion of the common test will be impossible (Fig. 4).
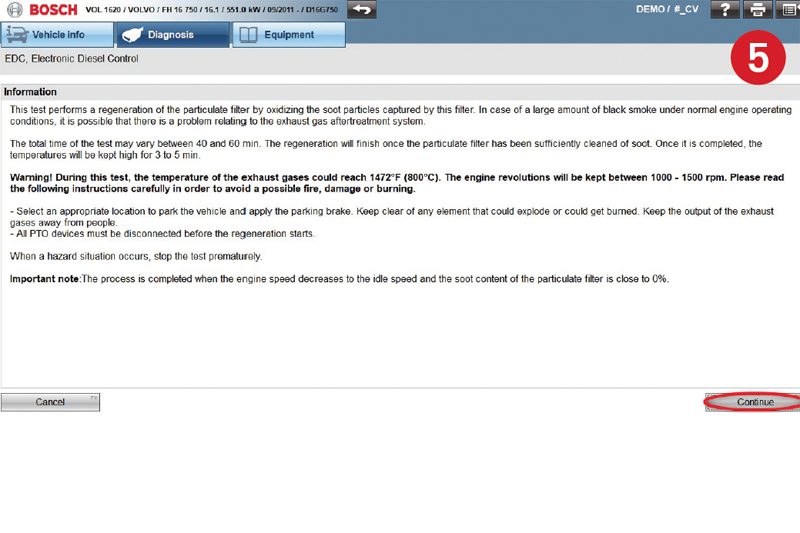
Clicking Continue again will show you any information which is specific to the common test which you are performing (Fig. 5). As we have selected a DPF regeneration for this example, ESI Truck tells us what the test involves, how long it will take and any warnings or precautionary steps which should be taken to ensure that the test is completed safely, both for the person performing the test and other people in the workshop. This information can be read again at any time during the test by clicking on the Info button from within the test screen.
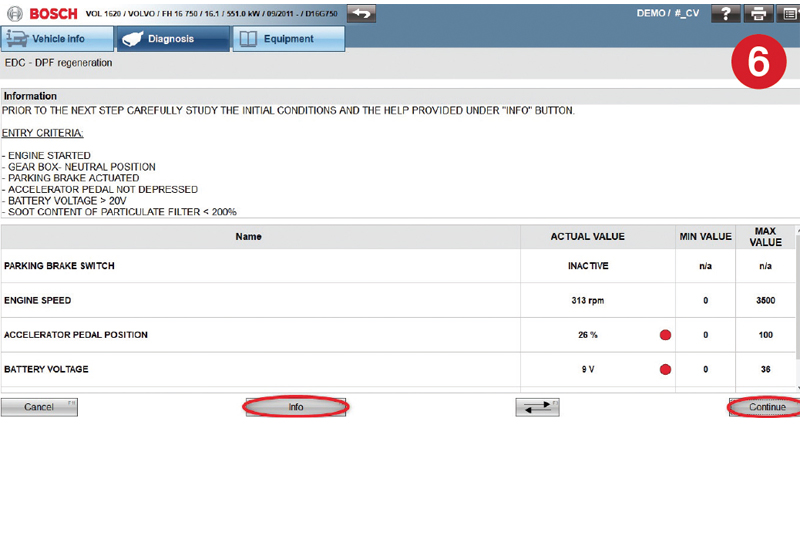
Once you have read the information screen and clicked Continue, the test will show you what state the vehicle needs to be in for the test to run – engine started, gear box position, parking brake position, battery voltage etc. The screen will show all of these parameters and you can continue the test once these are all as they are requested to be (Fig. 6).
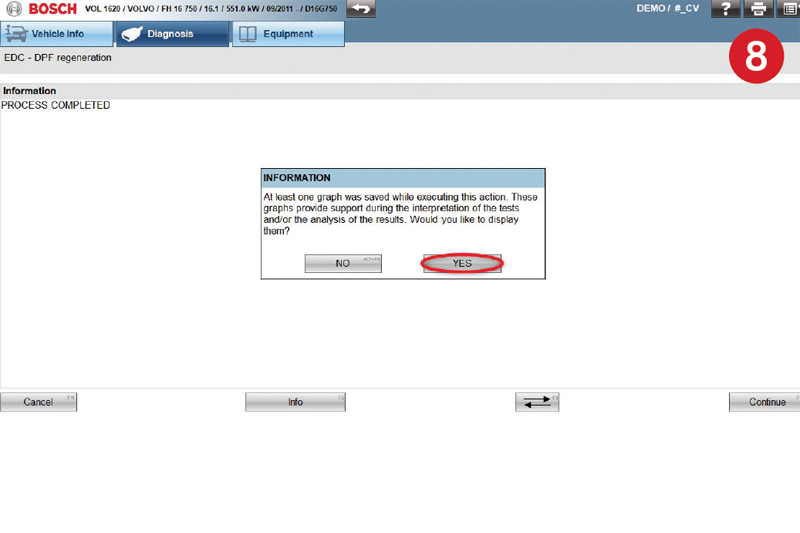
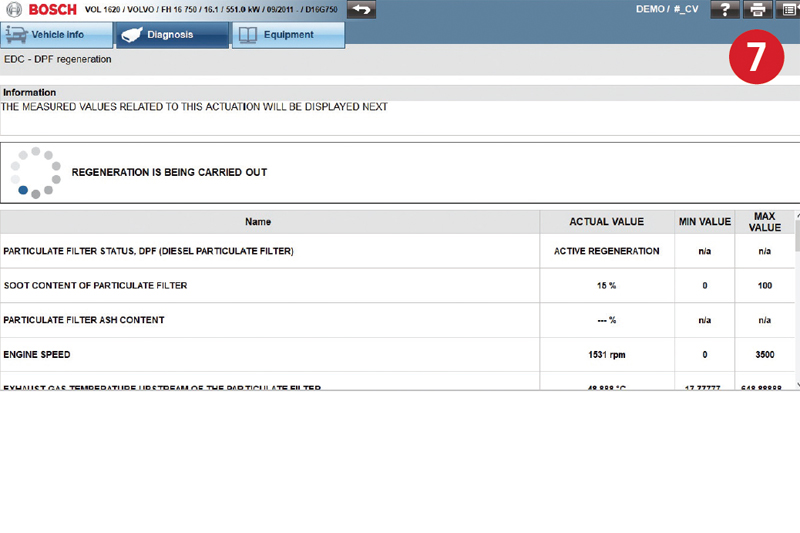
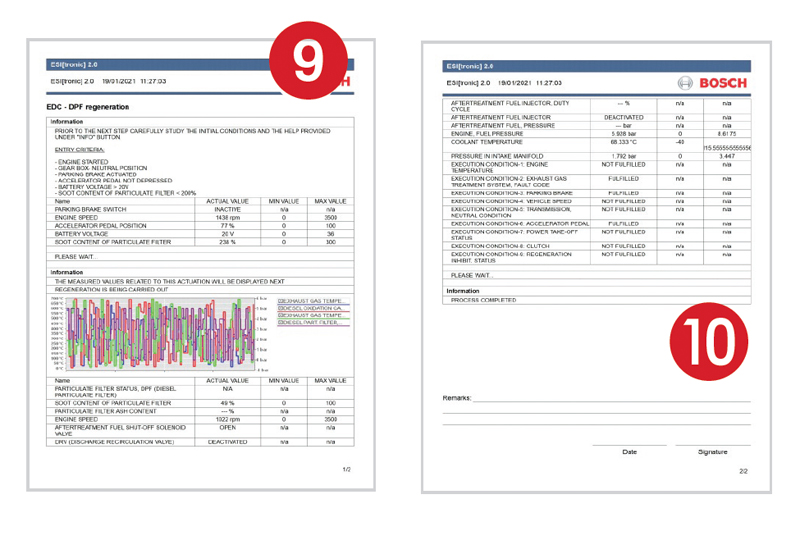 While regeneration is carried out, the key information is shown (Fig. 7) and the changes that are seen during regeneration are logged and can be shown in graphical format (Fig. 8). This graph and the results of the test can be printed or saved in PDF format to attach to the vehicle’s service record (Fig. 9 and 10).
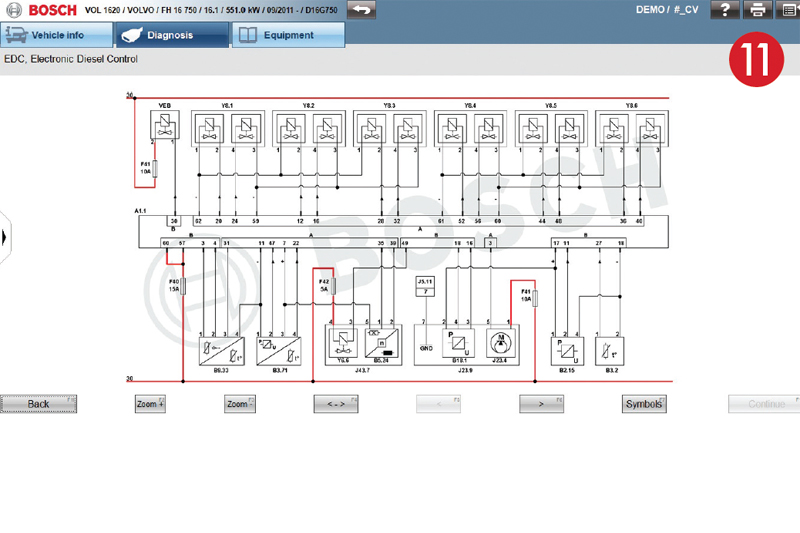
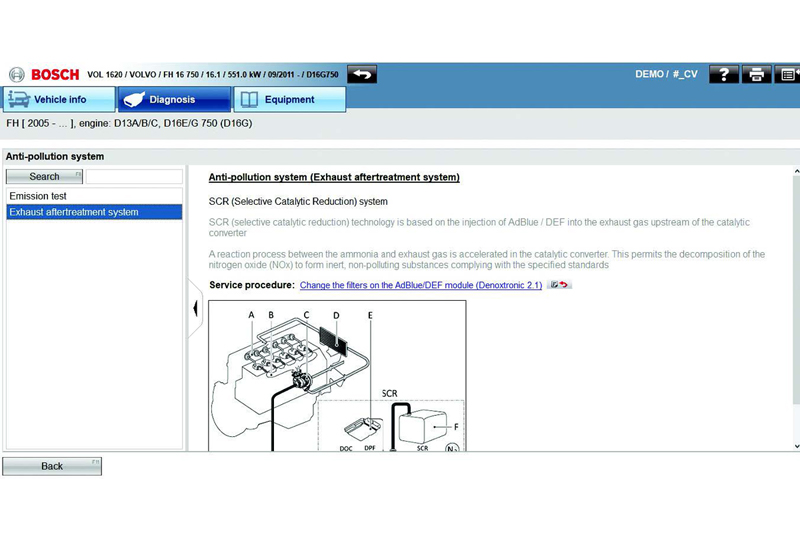
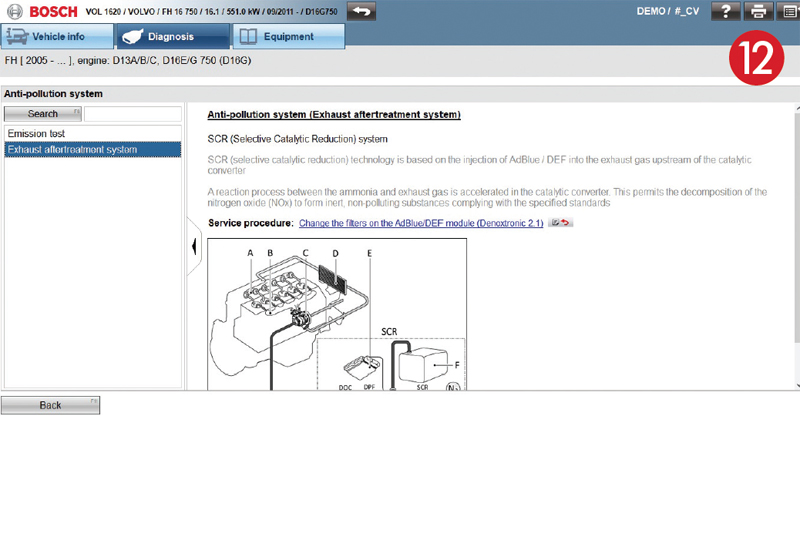
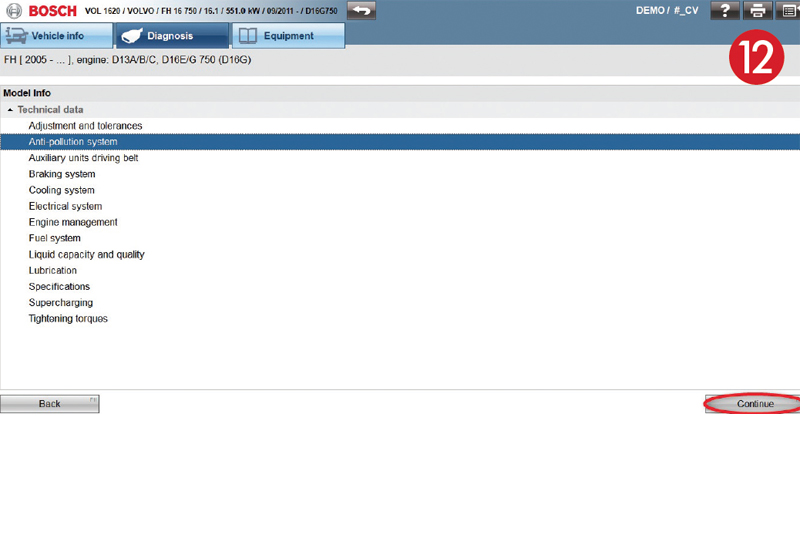
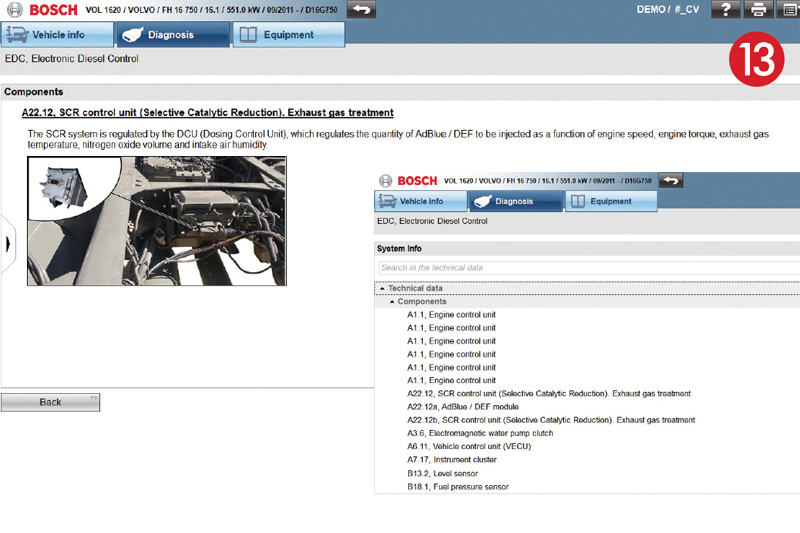
At any time during the test, it is possible to see additional data that ESI Truck has on the system in question. For this particular example, this includes a Wiring Diagram (Fig. 11), Technical Data & Service Procedures (Model) (Fig. 12), and Technical Data (System) (Fig. 13). Full details of this type of information was discussed in the System Info and Model Info editions of KTS Truck made ESI but examples are shown below. Once this information has been viewed, you can return to the test easily to review the results.
We have looked at lots of the specific information that ESI Truck can show you, but not what is available to help you diagnose the vehicle, so make sure you see the next edition of KTS Truck made ESI!

