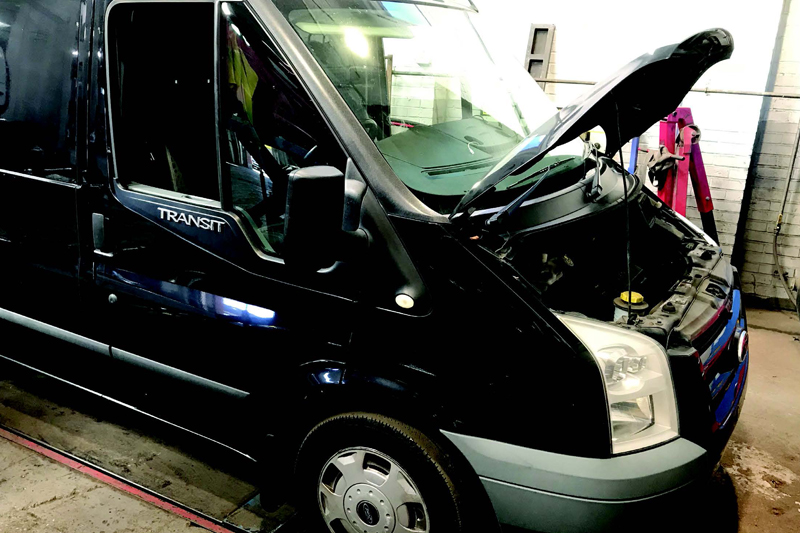
After the customer reported clutch slip, Schaeffler REPXPERT Alistair Mason replaced the clutch on a 2011 Ford Transit 2.2 TDCI frontwheel drive, which had covered more than 130,000 miles.
Ford released its first generation Transit to the UK market in 1965, and the model has received many facelifts along the way to today’s fourth generation. More than eight million Transits have been sold worldwide, making it the third bestselling van of all time, and it has also been the bestselling light commercial vehicle in Europe for the last 40 years.
With this in mind, with a repair time of just over three hours and 45 minutes and only basic workshop equipment – wheelfree vehicle lift, engine support, transmission jack, clutch alignment tool and torque wrench – required, this is a good repair for any independent workshop.
Step-by-step procedure
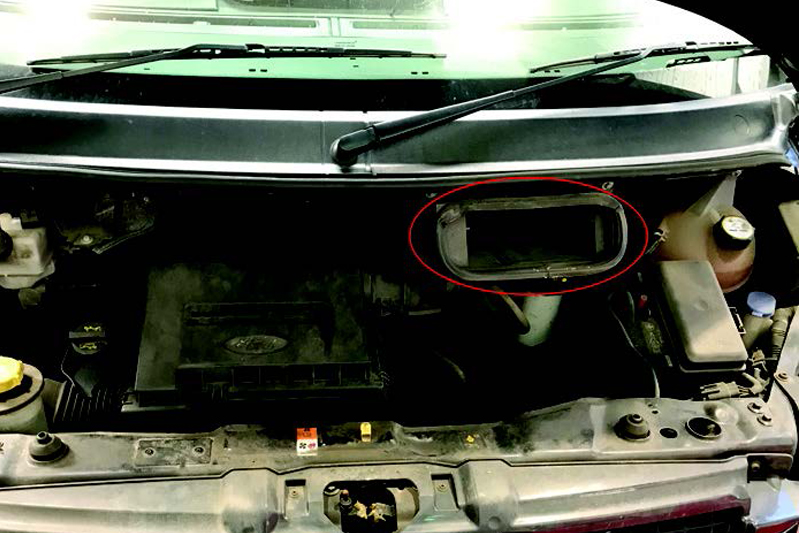
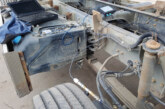
With the vehicle placed on the ramp, disconnect the negative battery terminal located under the driver’s seat, slacken the front wheels and hub nuts, open the bonnet and remove the interior air duct (Fig 1) for better access to the top of the gearbox.

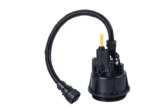
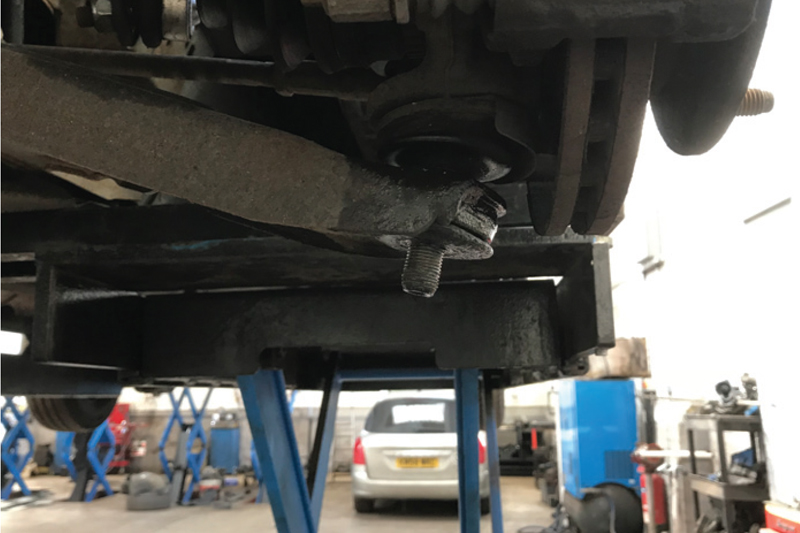
Next, remove the upper section of the top gearbox mount and detach the hydraulic clutch pipe at the connection close to the support bracket (Fig 2).
Disconnect the gear change cables from the selector mechanism, remove the cables from the support bracket and stow them away from the gearbox, before finally undoing the upper bell-housing bolts.
Raise the ramp to gain access to the underside of the vehicle and drain the gearbox oil. Whilst draining, lower the ramp to waist height, remove the front wheels and hub nuts, then raise the ramp and refit the drain plug.
Remove the lower gearbox pendulum mounting, unscrew the bottom ball joint nuts (Fig 3) and separate the bottom arms from the hub assemblies.
The N/S driveshaft can then be removed from the hub assembly and levered out of the gearbox. Disconnect the centre bearing mounting for the O/S driveshaft. Once removed, release the driveshaft from the hub assembly and then remove the O/S driveshaft from the gearbox. It is worth noting that a punch or lever may be required to release the driveshafts from the gearbox.
Next, remove the engine speed sensor assembly – as the sensor could get damaged – and the reverse light switch multiplug, whilst being aware of the multiplug positions, as these can easily get swapped around. Following this, remove the front wiring loom bracket and lower the bell housing bolts, leaving two accessible bolts to hold the gearbox, and then support the engine using a transmission jack or an engine brace.
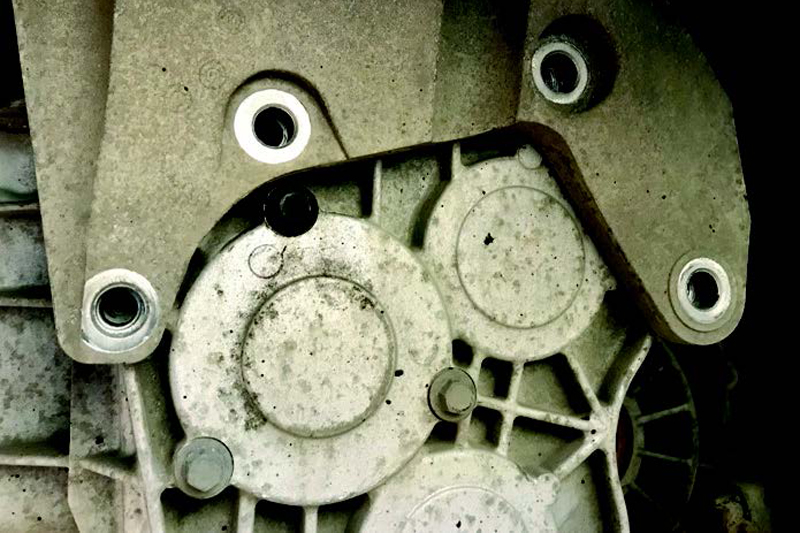
Afterwards, remove the gearbox mounting in the engine bay, and lower the engine and gearbox assembly. Once the gearbox mounting is accessible, remove the bolts and mounting (Fig 4). Support the gearbox using a second transmission jack, undo the final two bell housing bolts, ease the gearbox away from the engine, and, once free, lower the gearbox and remove it from the vehicle.
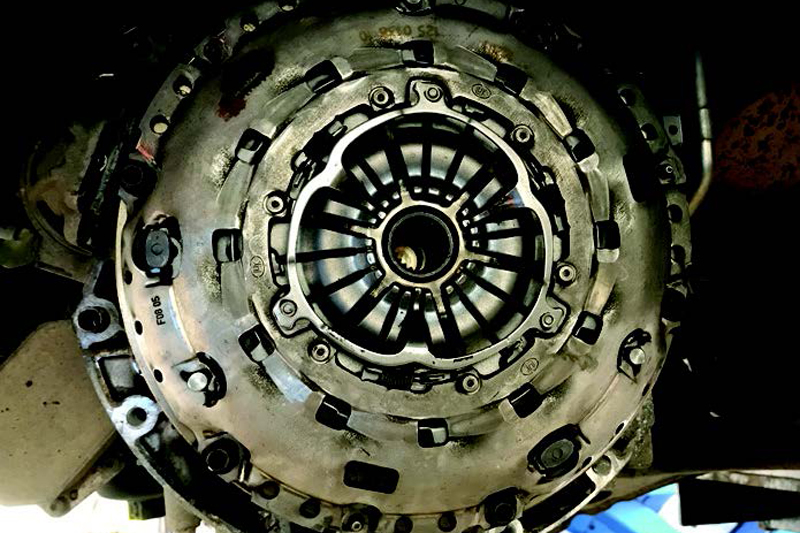
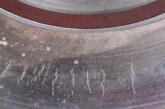
With the clutch now fully accessible (Fig 5), undo the six clutch retaining bolts, remove the cover and clutch plate assembly; in this instance, the dual mass flywheel (DMF) was replaced. Flywheel bolt torque values and test data are easily available on the new REPXPERT app (Fig 6).

With the new DMF mounted, degrease the clutch surface on the DMF and clean the back of the engine to remove the old clutch dust, as this can contaminate the new clutch and the DMF.
Clean the bell housing of the gearbox, remove the old concentric slave cylinder (CSC) and mount the new one, ensuring the bolts torque correctly. Lightly smear some high-melting point grease on the gearbox input shaft splines and mount the new clutch plate, as this will confirm it is the correct fitment. Also, evenly distribute the grease on the input shaft, remove the clutch plate and wipe off any excess.
Now, mount the new clutch onto the flywheel. Ensure the clutch plate is the correct way around, which can be indicated by ‘Gearbox side’ or ‘Getriebe Seite’.
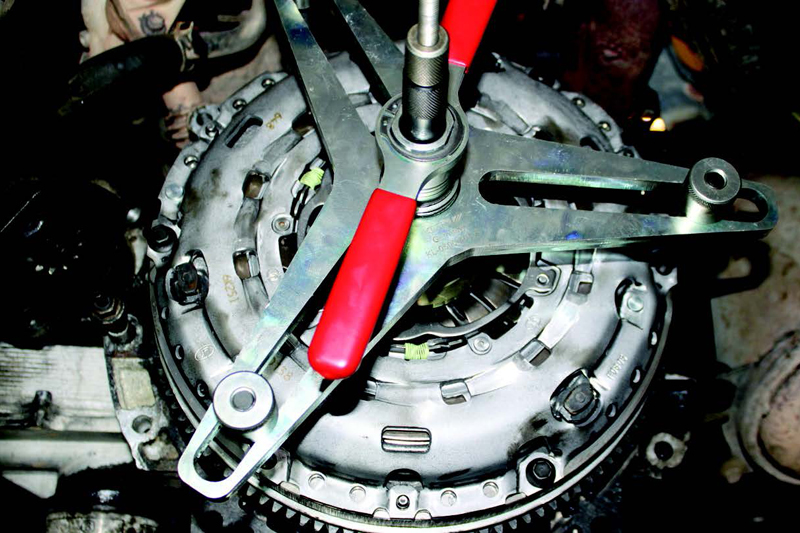
Always use a clutch alignment tool. Being a self-adjusting clutch (SAC), identified by the three yellow springs, it is highly advised to use a SAC mounting tool (Fig 7), in order to remove any risk of de-adjustment or twisting during the mounting process.
Always ensure that the clutch bolts are the correct length, tighten the bolts evenly and sequentially, and always torque to the manufacturer’s specification. Before refitting the gearbox, it is always best practice to flush the old clutch fluid out of the system and replace it, so as to not contaminate the new CSC and possibly deform the seal.
Ensure that the two gearbox alignment dowels are located correctly, and that the pipes and cables are clear of the bell housing area, then mount the gearbox onto the transmission jack, align it with the engine and ease it into position. Once located onto the alignment dowels, insert two bell housing bolts and tighten, and rebuild in reverse order of removal, remembering to replenish the gearbox oil.
In this instance, the clutch was gravity bled; by opening the bleed nipple, the fluid ran through until clear of air before the nipple was retightened. If you’re using some assistance from the clutch pedal to bleed the clutch, always allow the system to stabilise before re-pressing the pedal, as there is a risk of ‘over-stroking’ the system.
After the battery lead has been reconnected, remember to restore all electrical settings. Finally, carry out a full road test to ensure a quality repair.