Here’s a step-by-step guide to removing in-line connectors with induction heat, courtesy of Induction Innovations.
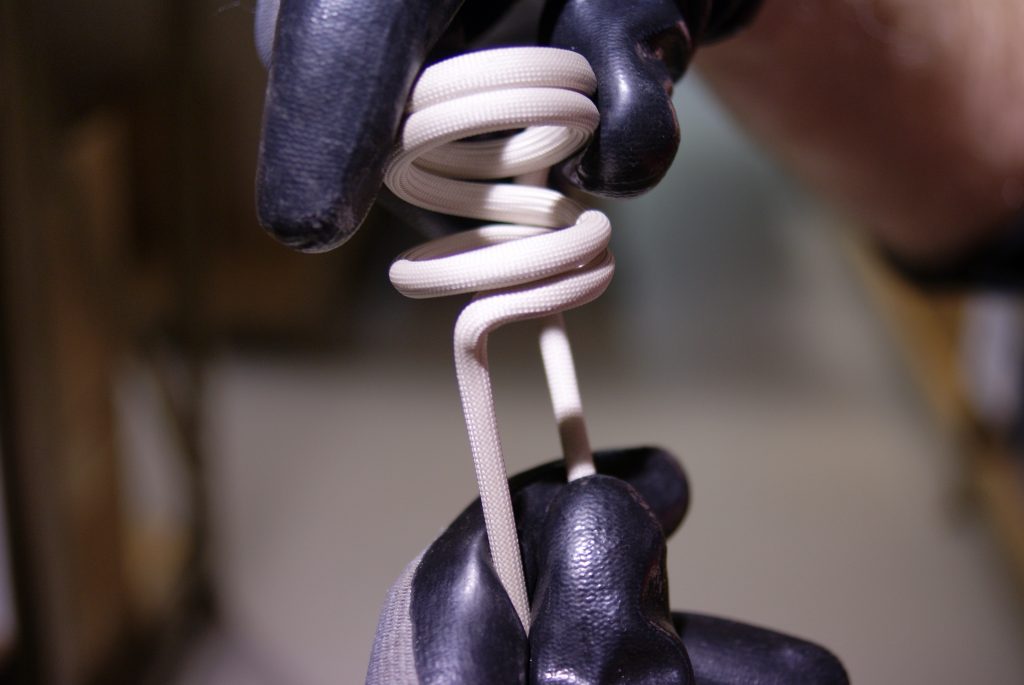
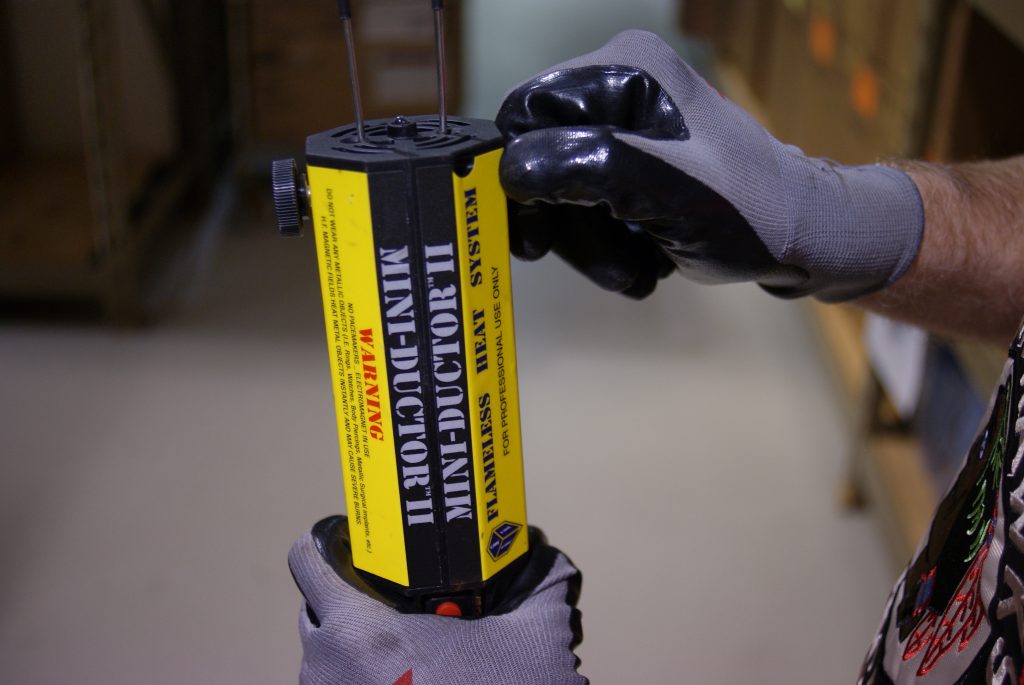
1.) Select the right size coil for the intended purpose. The inside diameter of the coil should fit around the area to be heated. (Image above).
2.) Separate the coils windings at the centre, just slightly wider than the object to be heated.
3.) Insert the coil into the Mini-Ductor and secure the thumb screws tightly.
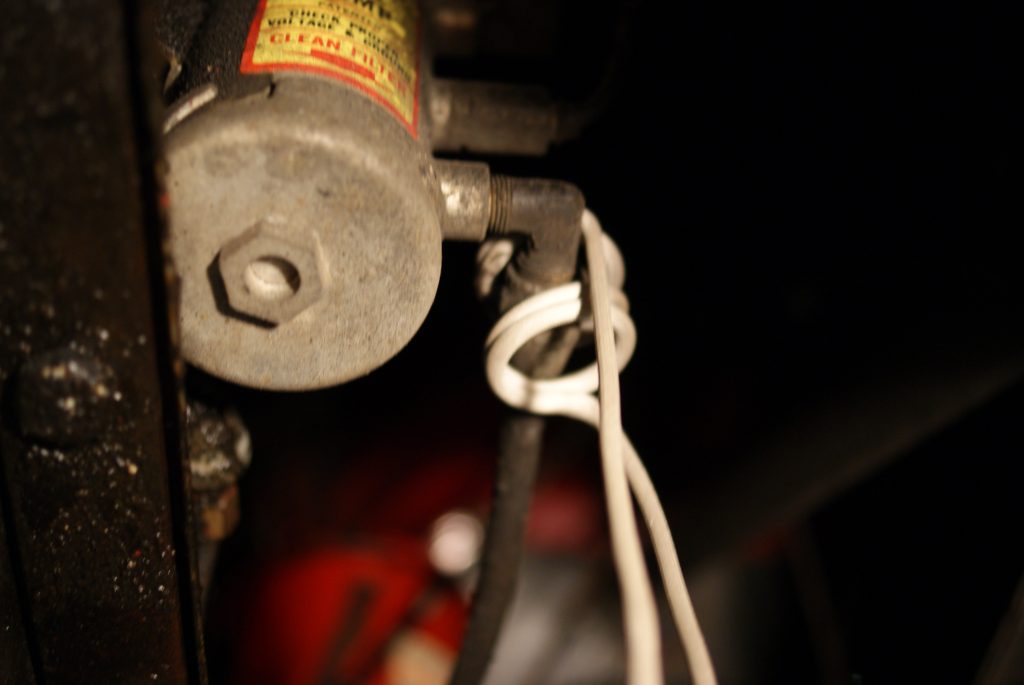
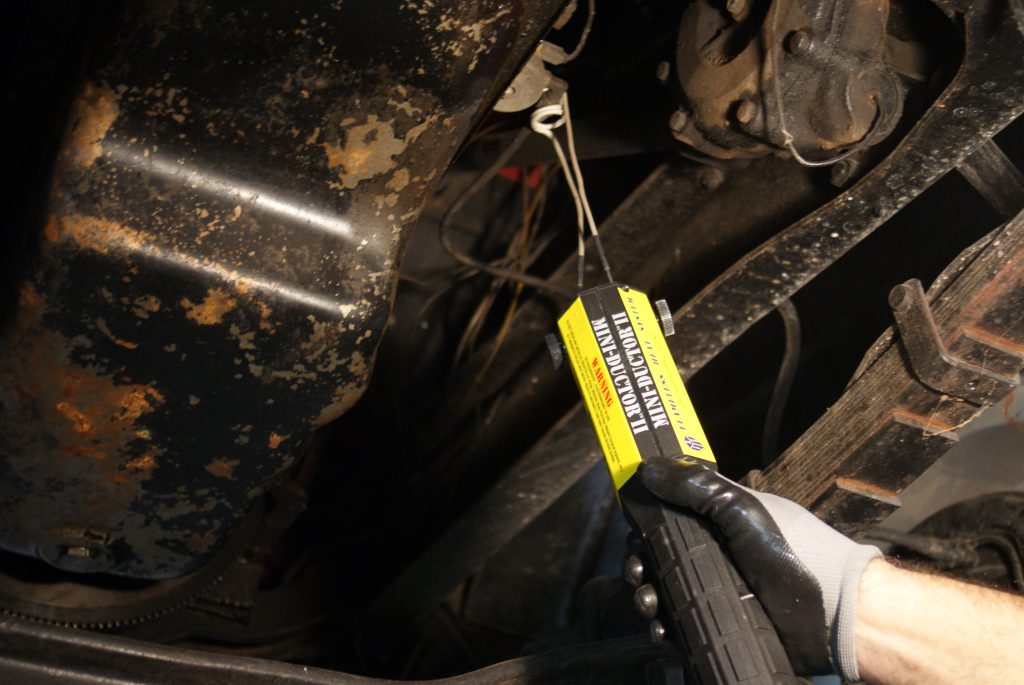
4.) Place the coil over the in-line connector and into the gap you just created in the coil. Readjust coil opening if necessary.
5.) Energise unit for 10 seconds (time will vary subject to size/mass of object) and attempt to loosen. Repeat as necessary being cautious not to overheat or turn red hot.
Safety notes
- If in-line connection is a tube, it may have combustible liquids contained within it.
- Liquids expand with heat and do not compress and may be flammable, potentially leading to an explosion.
- Tubing carrying such liquids should be drained first.
- The system needs to be purged to prevent pressure from building up.
- This should only be done in a safe, well-ventilated area free of other combustibles and with a fully charged fire extinguisher at hand.
- Overheating may jeopardise the structural integrity of the connector/hardware. Use heat indicators or monitor with an IR temperature sensing device.